
Apollo Temperature Sensors
Level up your temperature monitoring with these ESP based Home Assistant compatible temperature and food sensors.
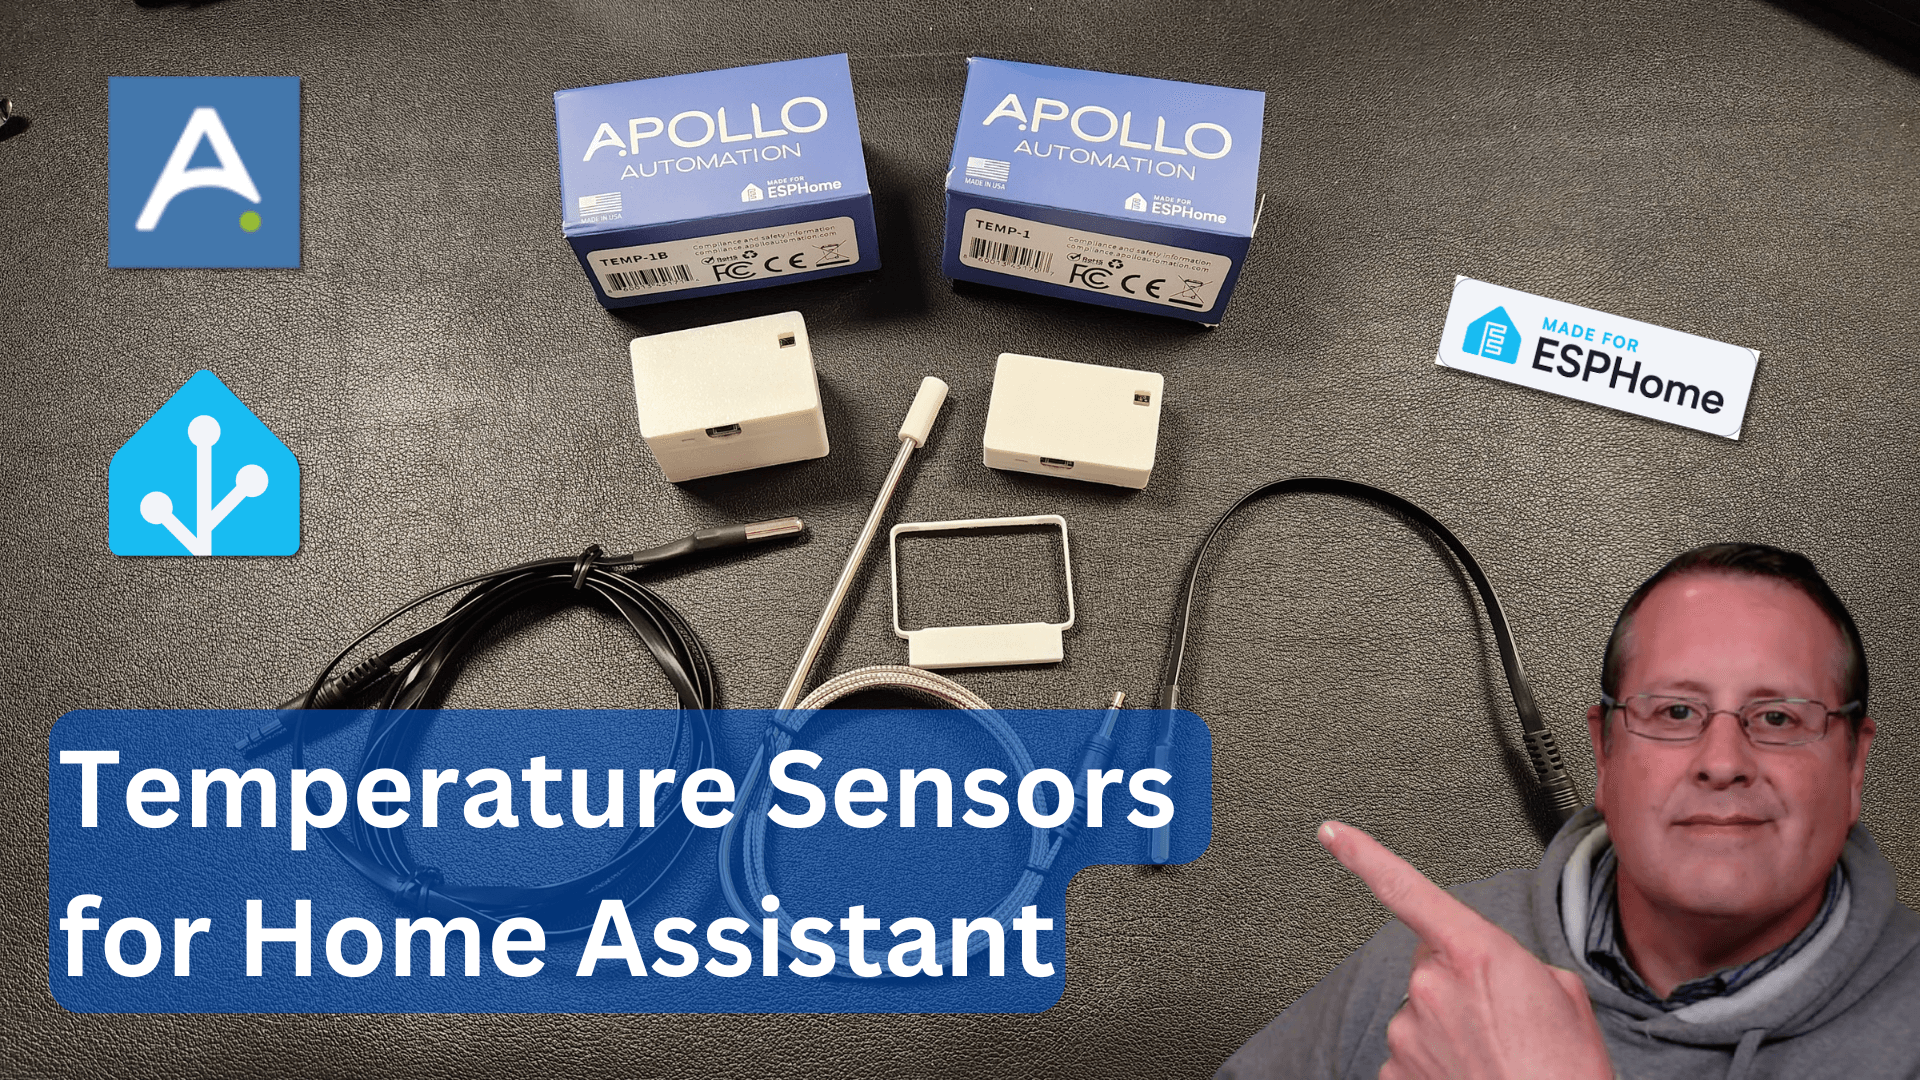
Apollo Automation has done it again. They designed yet another set of sensors that you can add to their ever-expanding line of products. This one even does food temperatures!
This sensor comes in two variants as of this writing. The TEMP-1, which is a USB-C powered sensor, and the TEMP-1B (select battery version on page), a battery-powered version (battery not included) that is identical to the TEMP-1. The TEMP-1 doesn't come with a power supply but you can purchase one from Apollo or just use any phone charger you have around. For the battery version, it is highly recommended to use a rechargeable battery such as the (RC-CR123A or 16340) for the TEMP-1B. Non-rechargeable batteries don't have enough voltage.
There are three optional temperature probes on one on-board sensor.
- Small Temp Probe (20cm or 8 inches) - DS18B20 max temp 85°C / 185°F
- Long Temp Probe at (1.5m or 5 feet) - DS18B20 max temp 85°C / 185°F
- Food safe Probe at (1m or 3 feet) - NTC sensor max temp 350°C / 662°F
- On-board AHT20-F sensor.
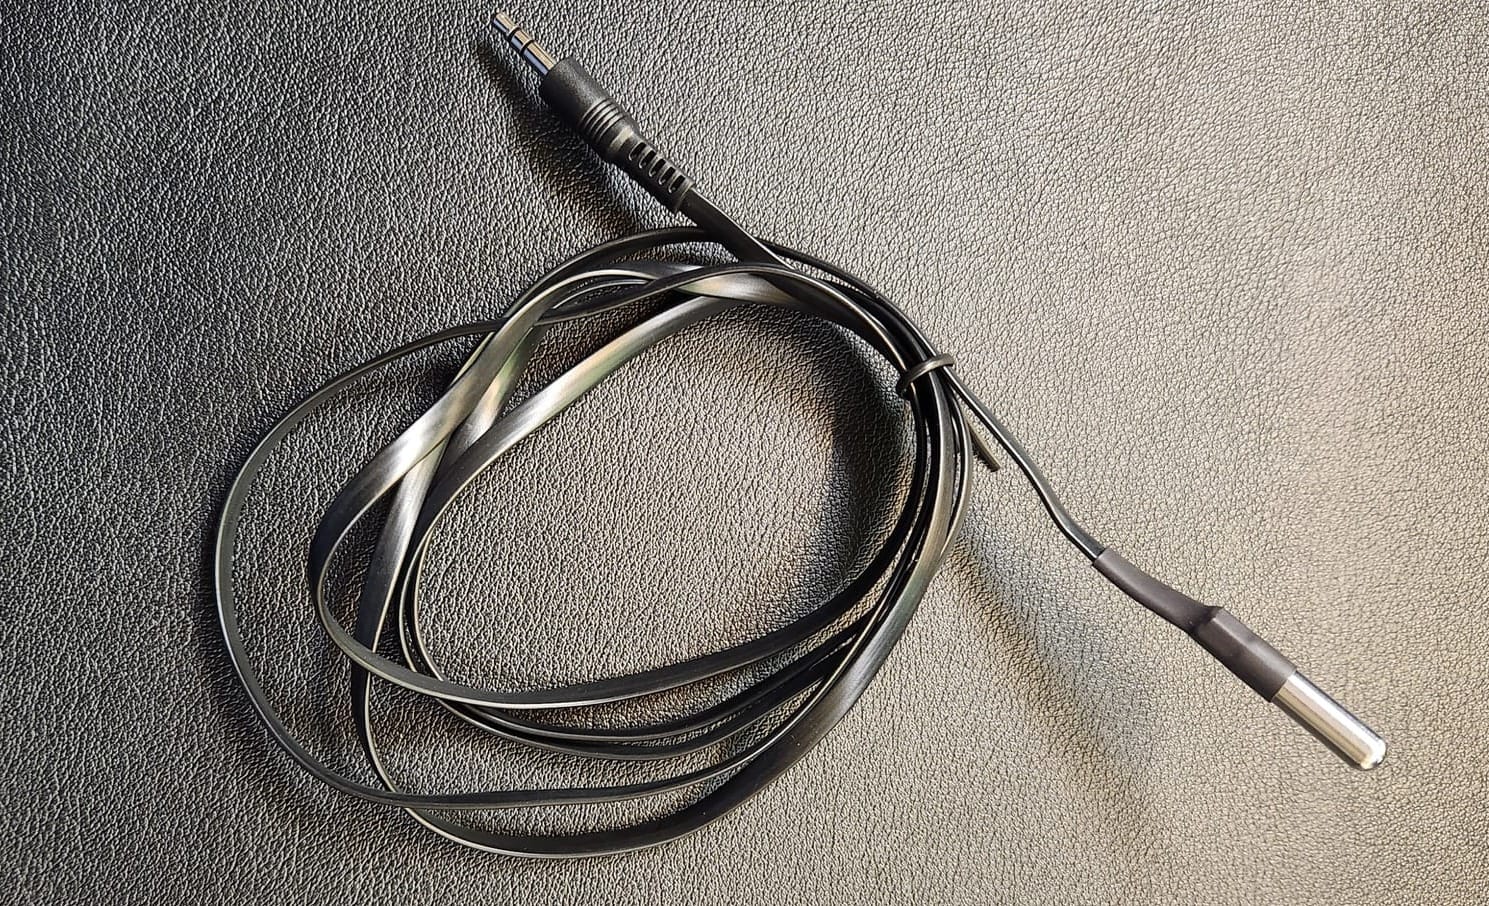

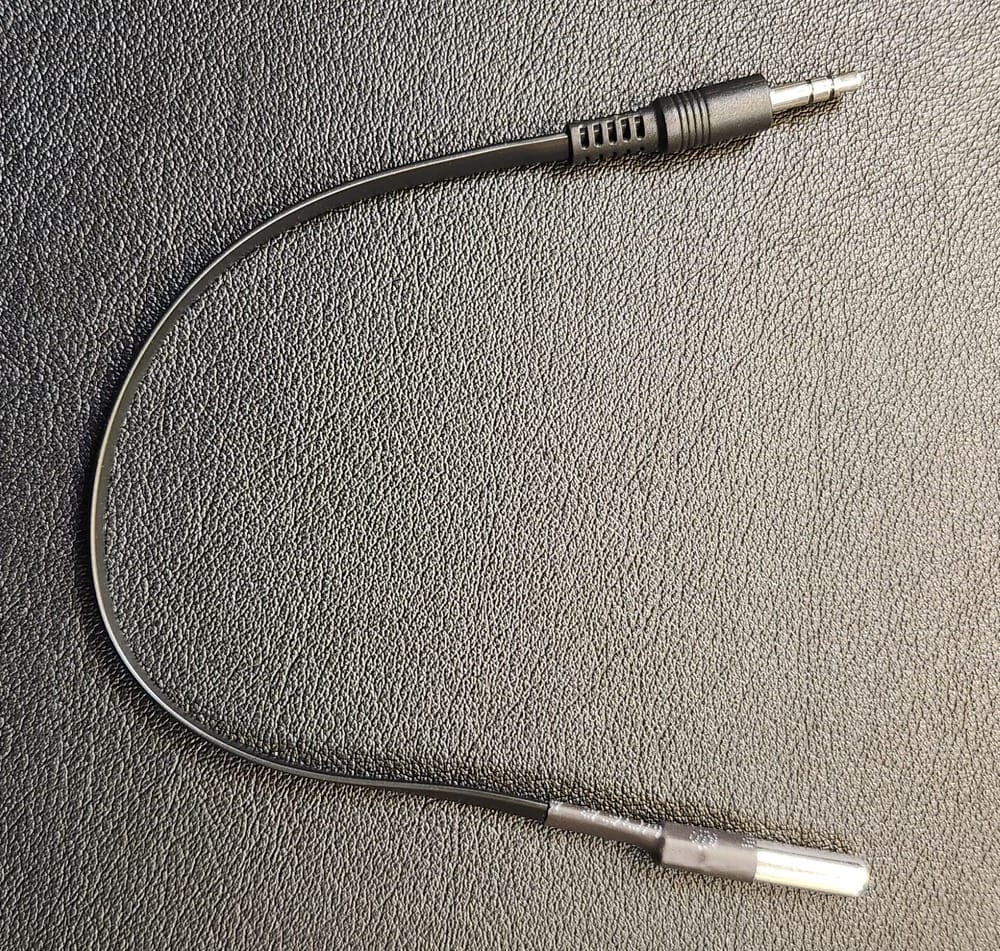
The Long Temp Probe, Food Safe Probe, and Small Temp Probe
The small and long temp probes are waterproof/submersible and they have flat cables so you can place them inside a refrigerator or freezer without affecting the seal. The food probe is a stainless steel food-safe version (not dishwasher safe). All three of those plug into the 3.5mm jack on the sensor. The sensors are DS18B20 with a maximum temp of 85°C / 185°F
Apollo recommends using any of the external temperature probes and only use the AHT20-F if necessary because the onboard ESP module can affect the readings of that sensor. This can be mitigated by using the sleep setting to only turn on the ESP module once per minute or less. This will keep the heat down on the ESP module.
You can also purchase an optional magnet mount so you can temporarily stick the sensor box on an oven or fridge without having to make any permanent mounting. Beware, the magnet is very strong and could damage stainless steel if trying to remove the magnet and slide it around. I would place a piece of paper towel or other thin material between the magnet and the metal object for a bit of protection.
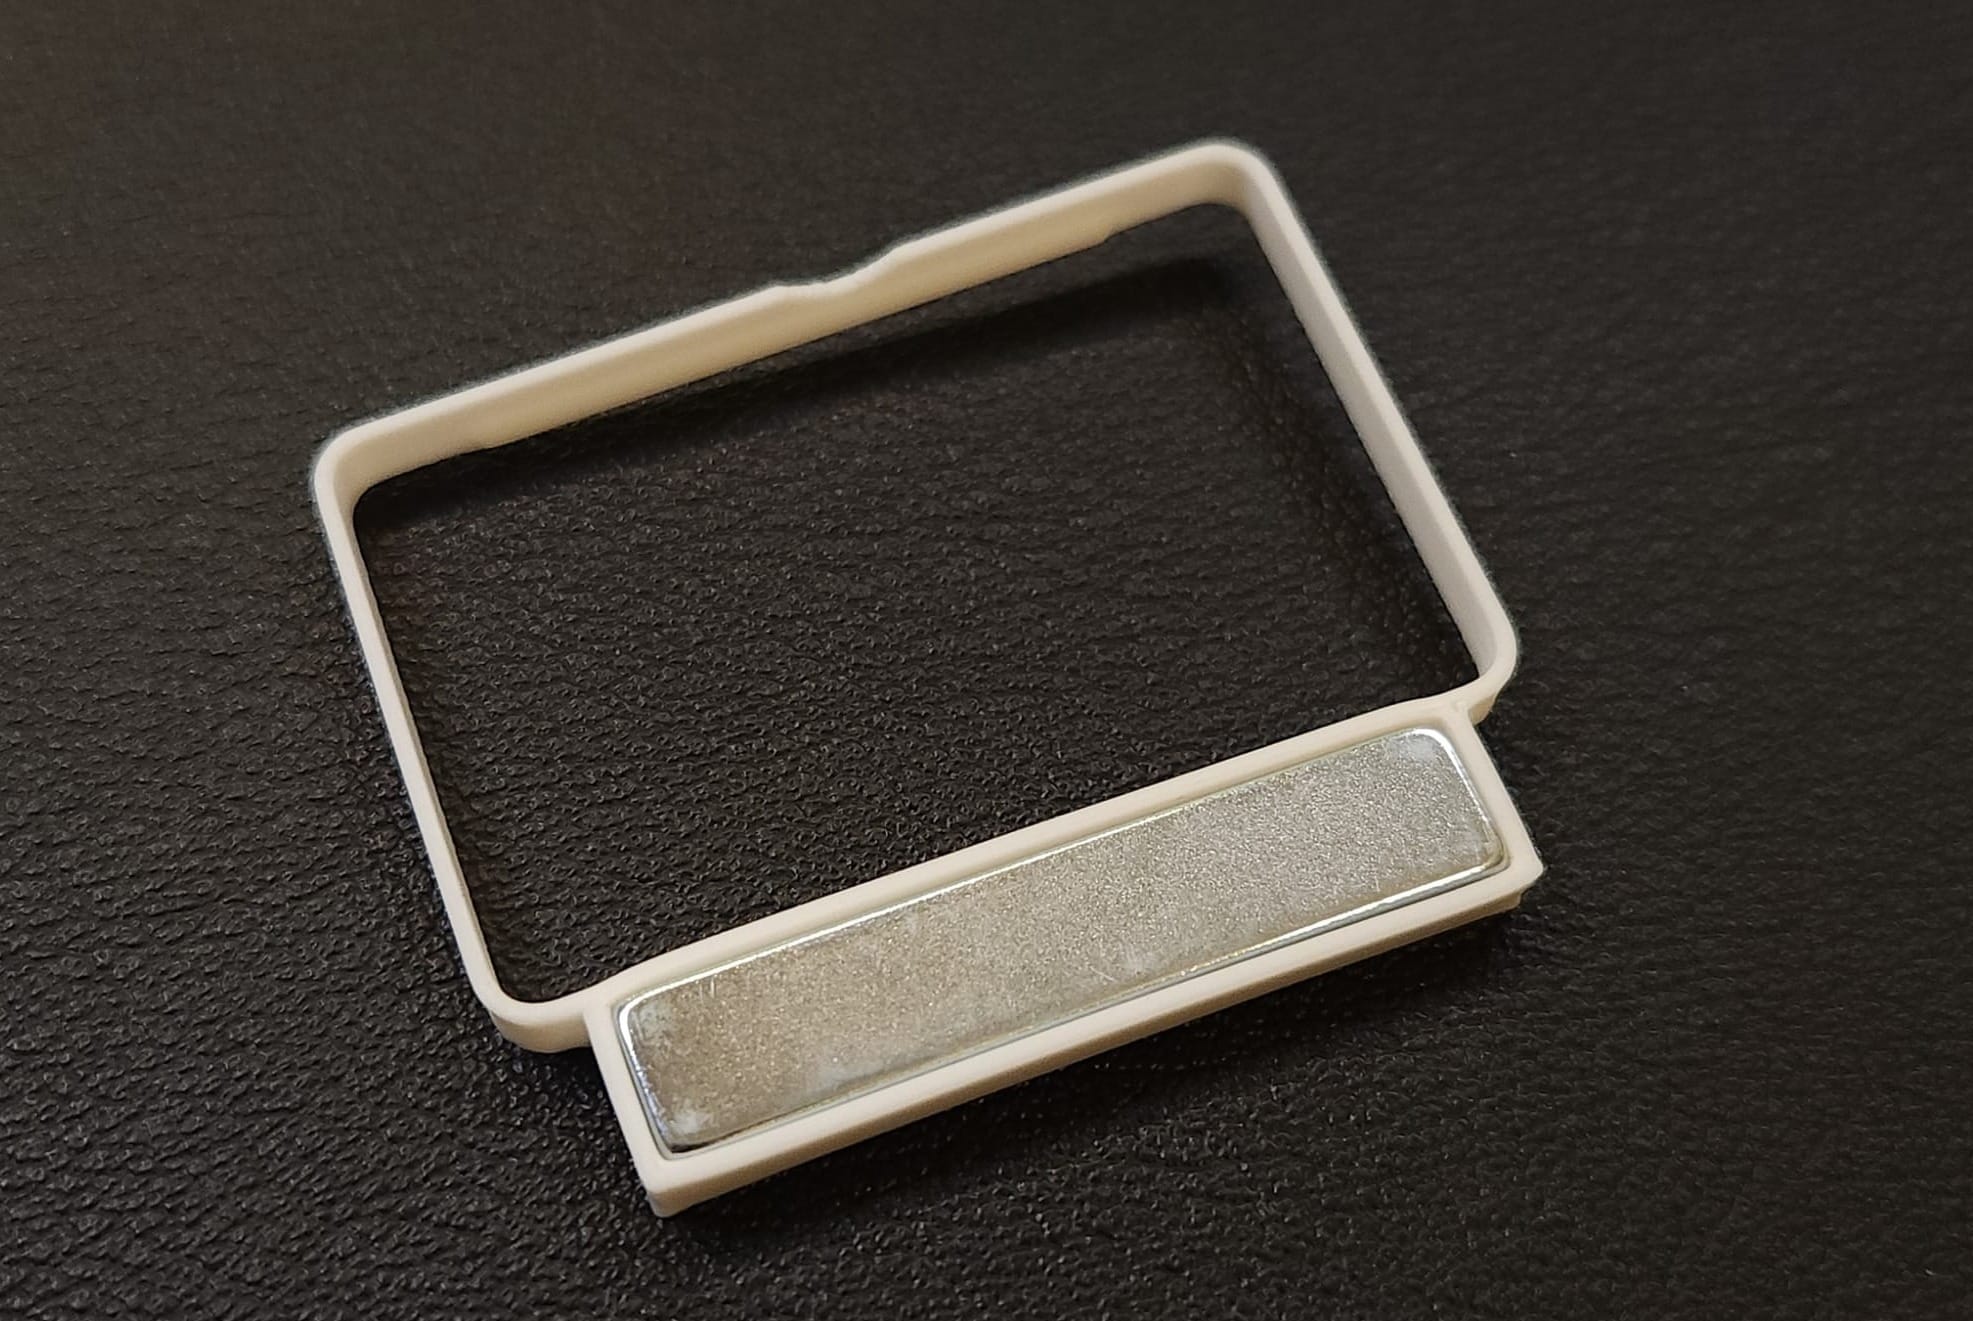
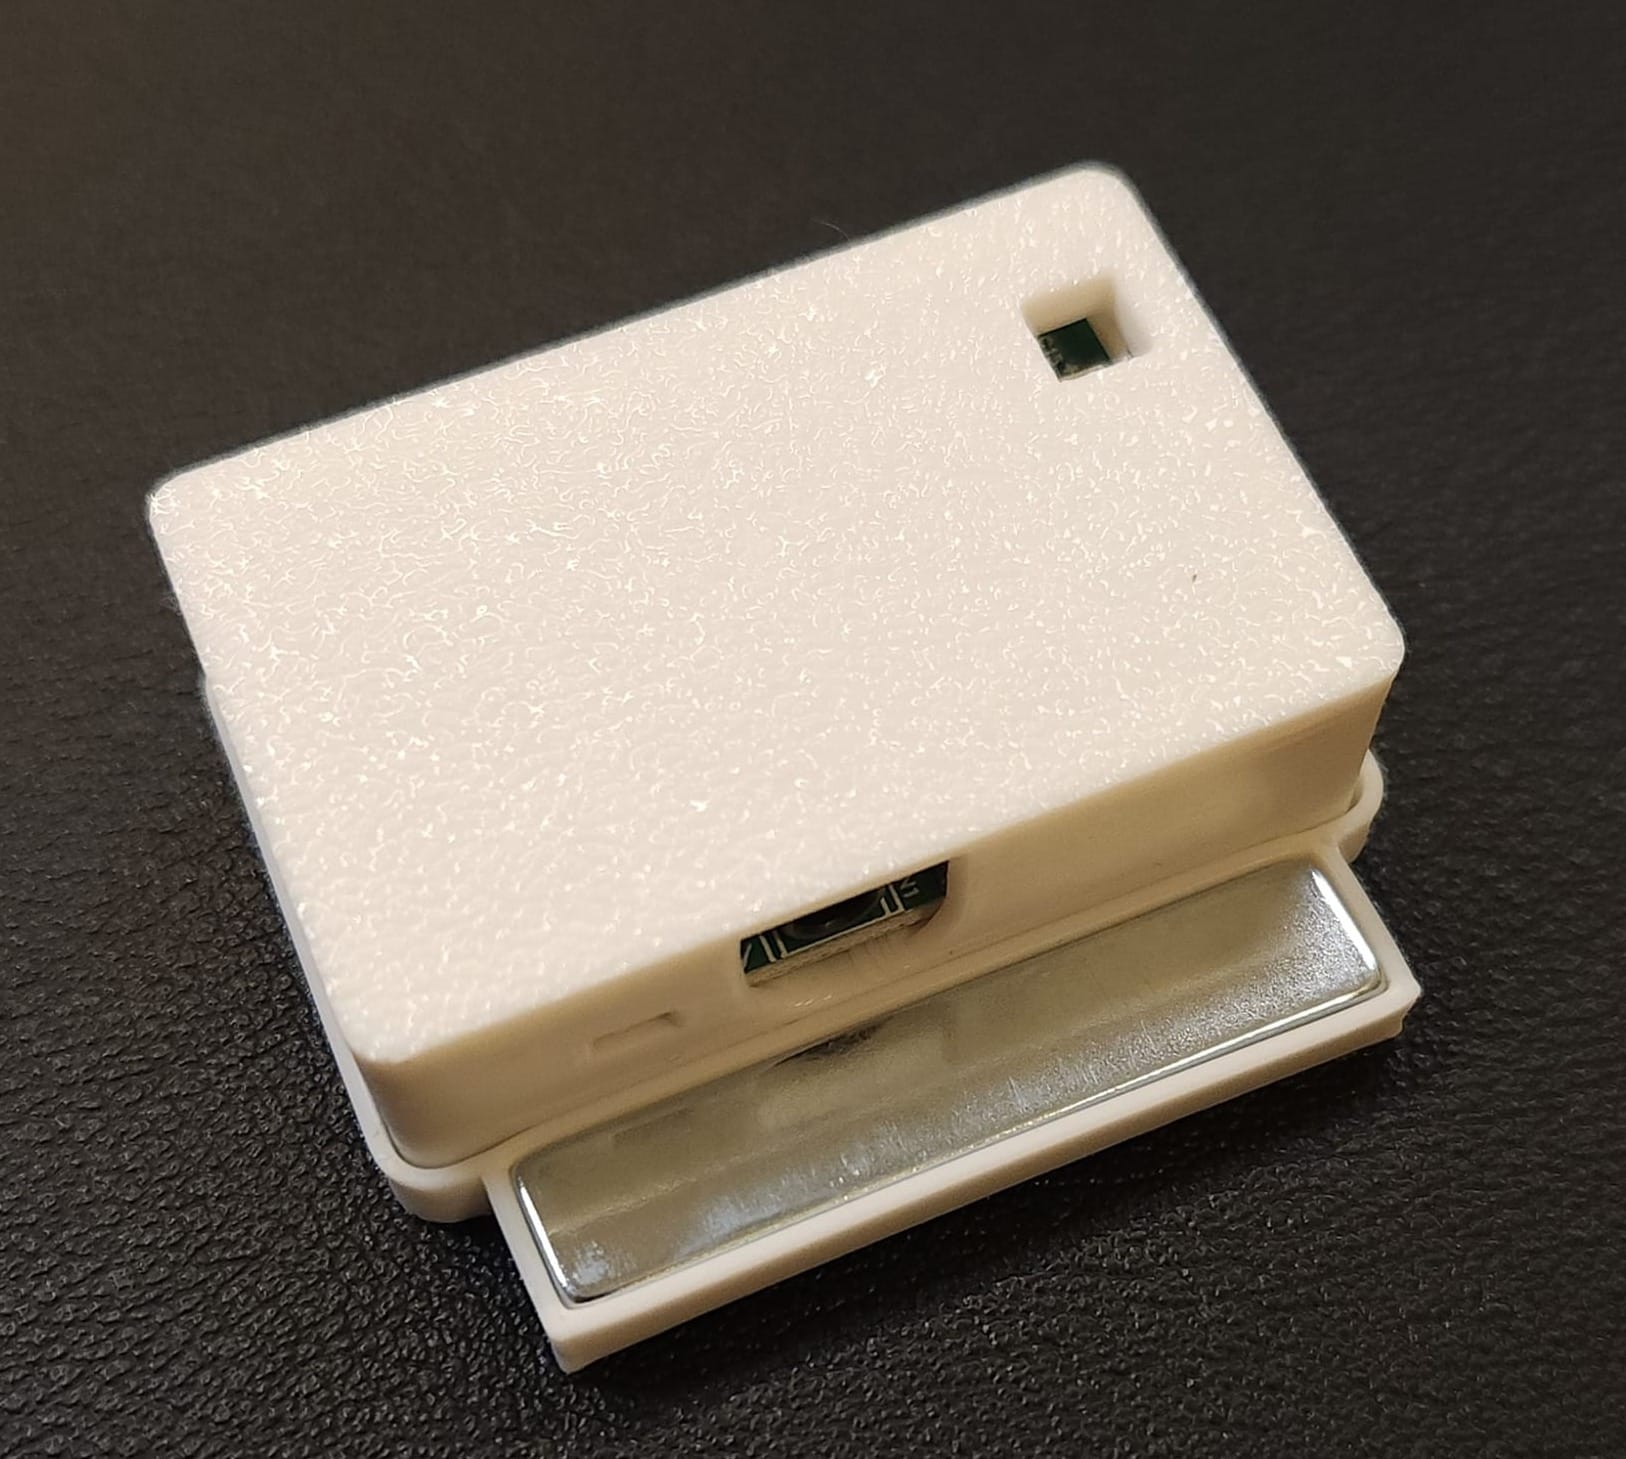
Optional magnet mount and TEMP-1 sensor snapped in the magnet mount
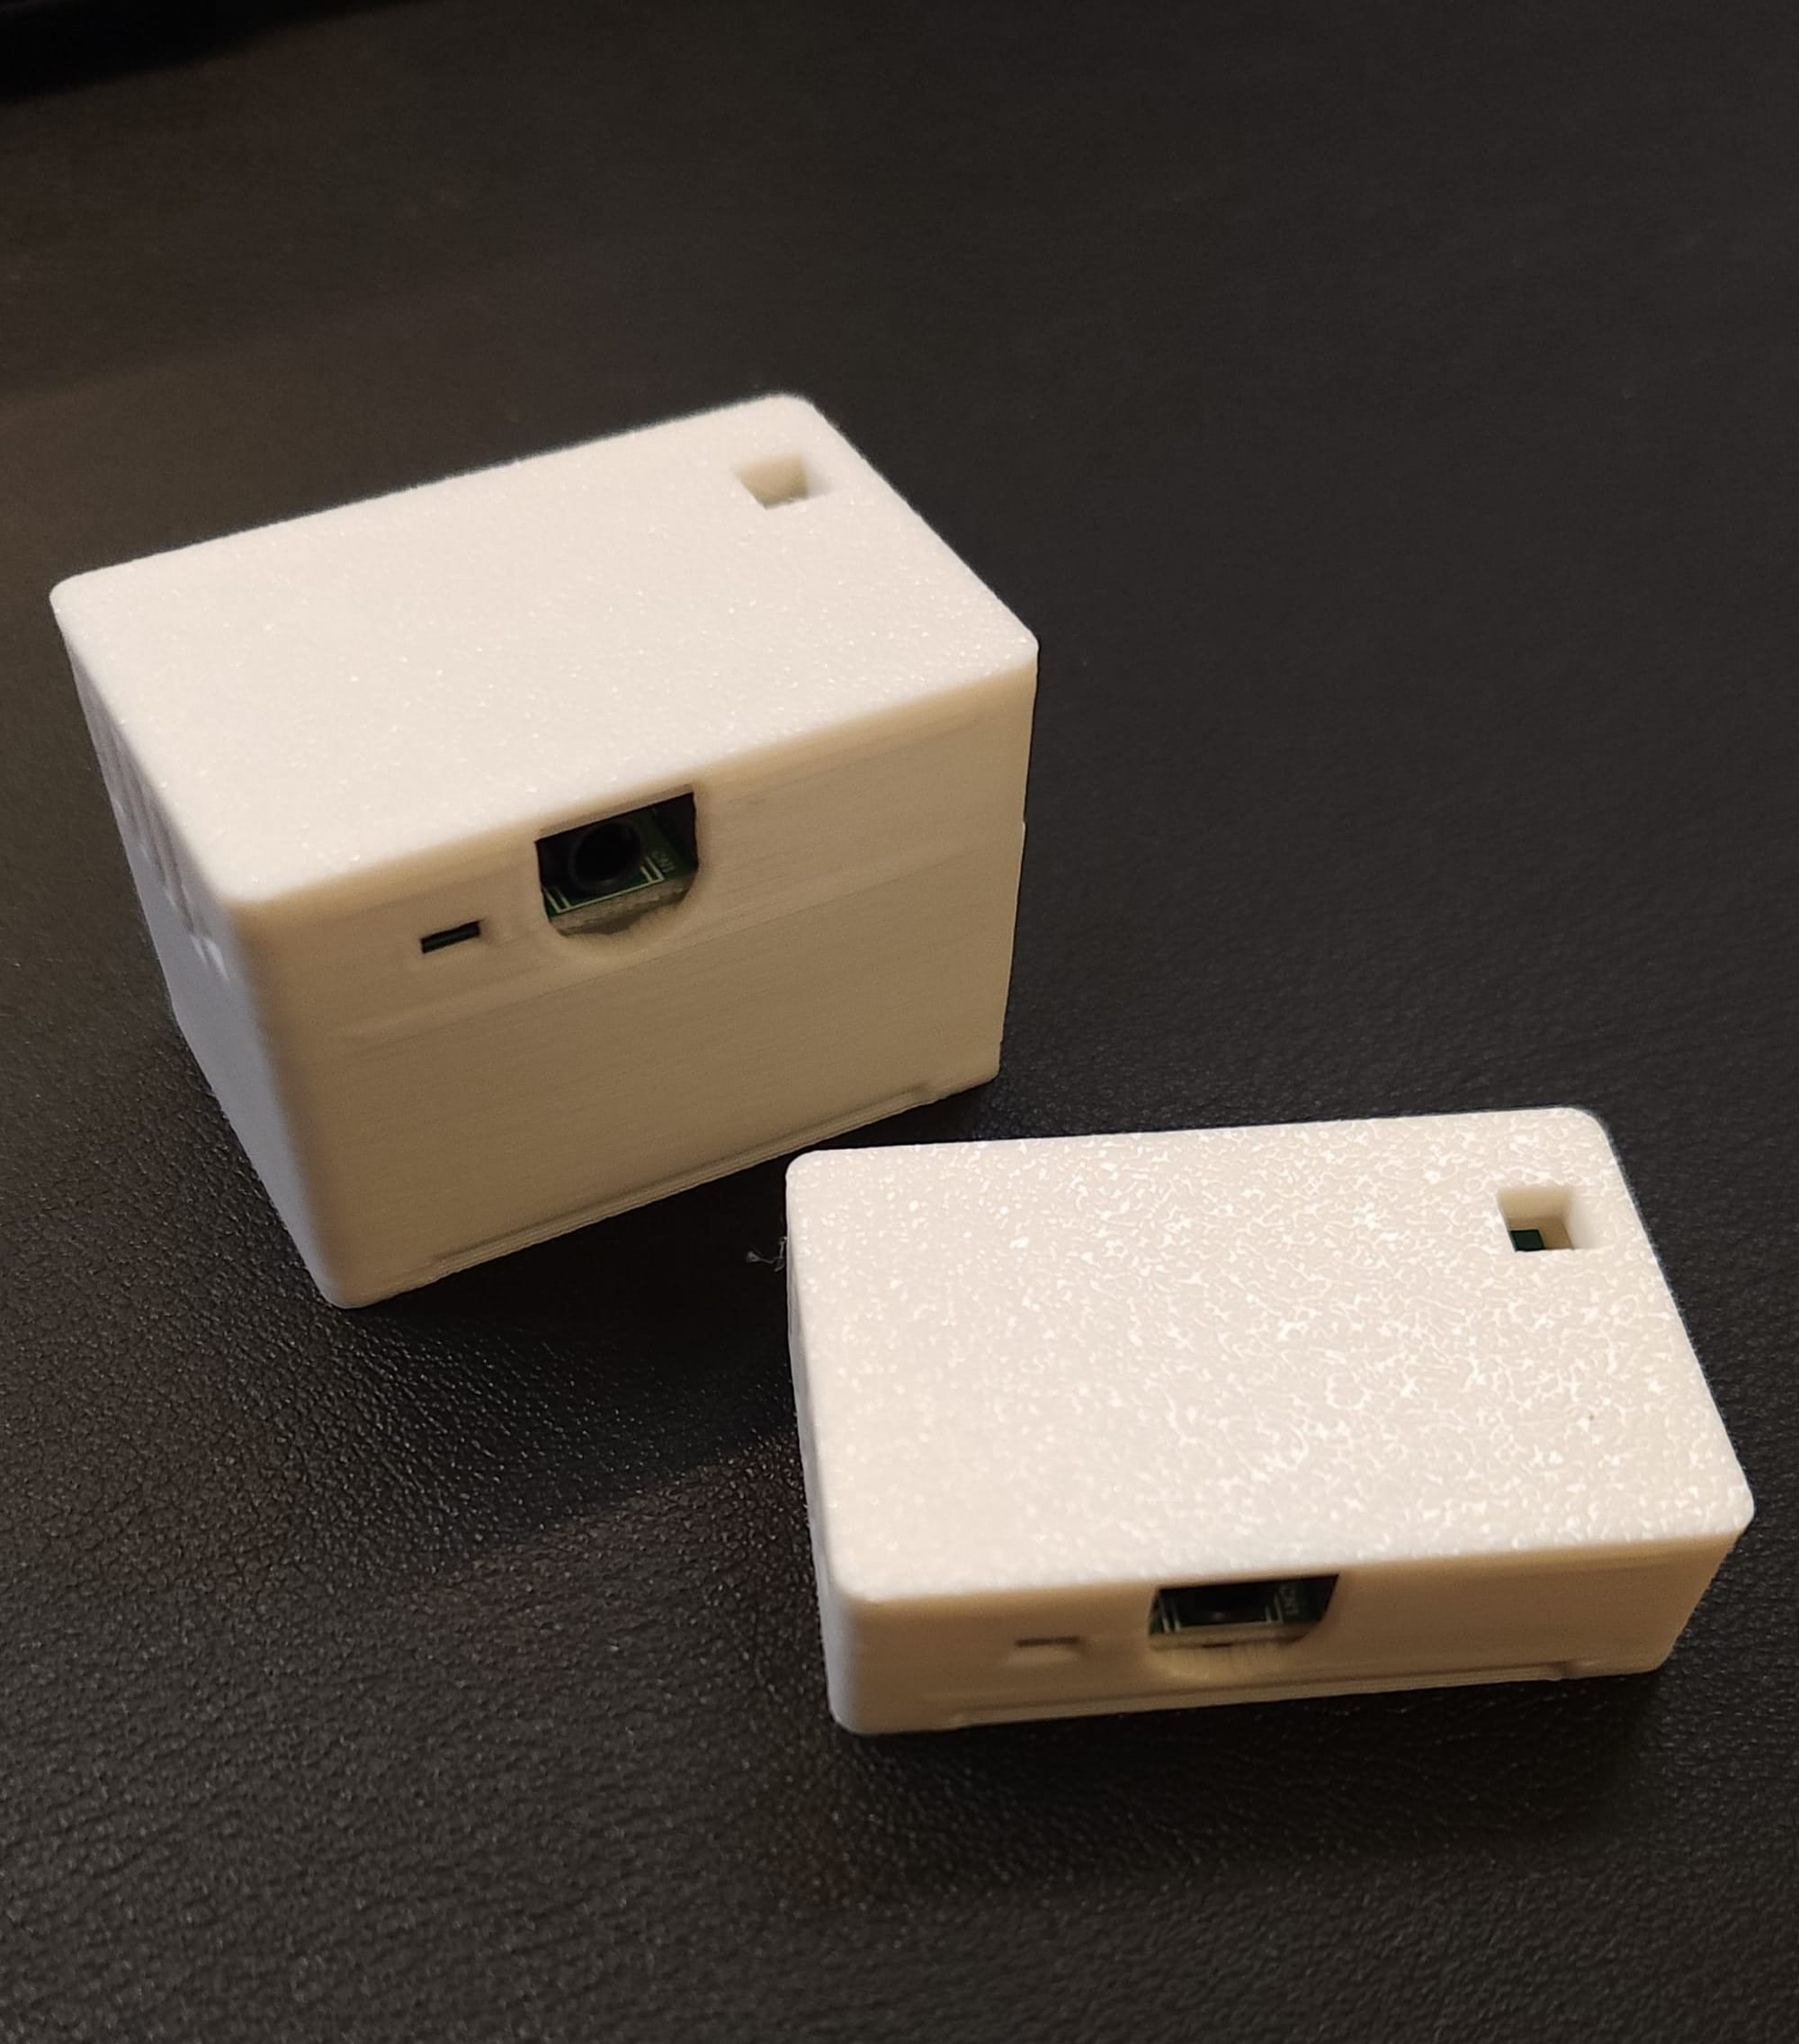
Both sensors have built-in Wi-Fi and Bluetooth which makes them ideal for connecting to your favorite smart home platform. Note: These are designed out of the box for connection to Home Assistant but because they are ESP-based, can be connected to other ESP-compatible systems. They also have RGB LED and a buzzer.
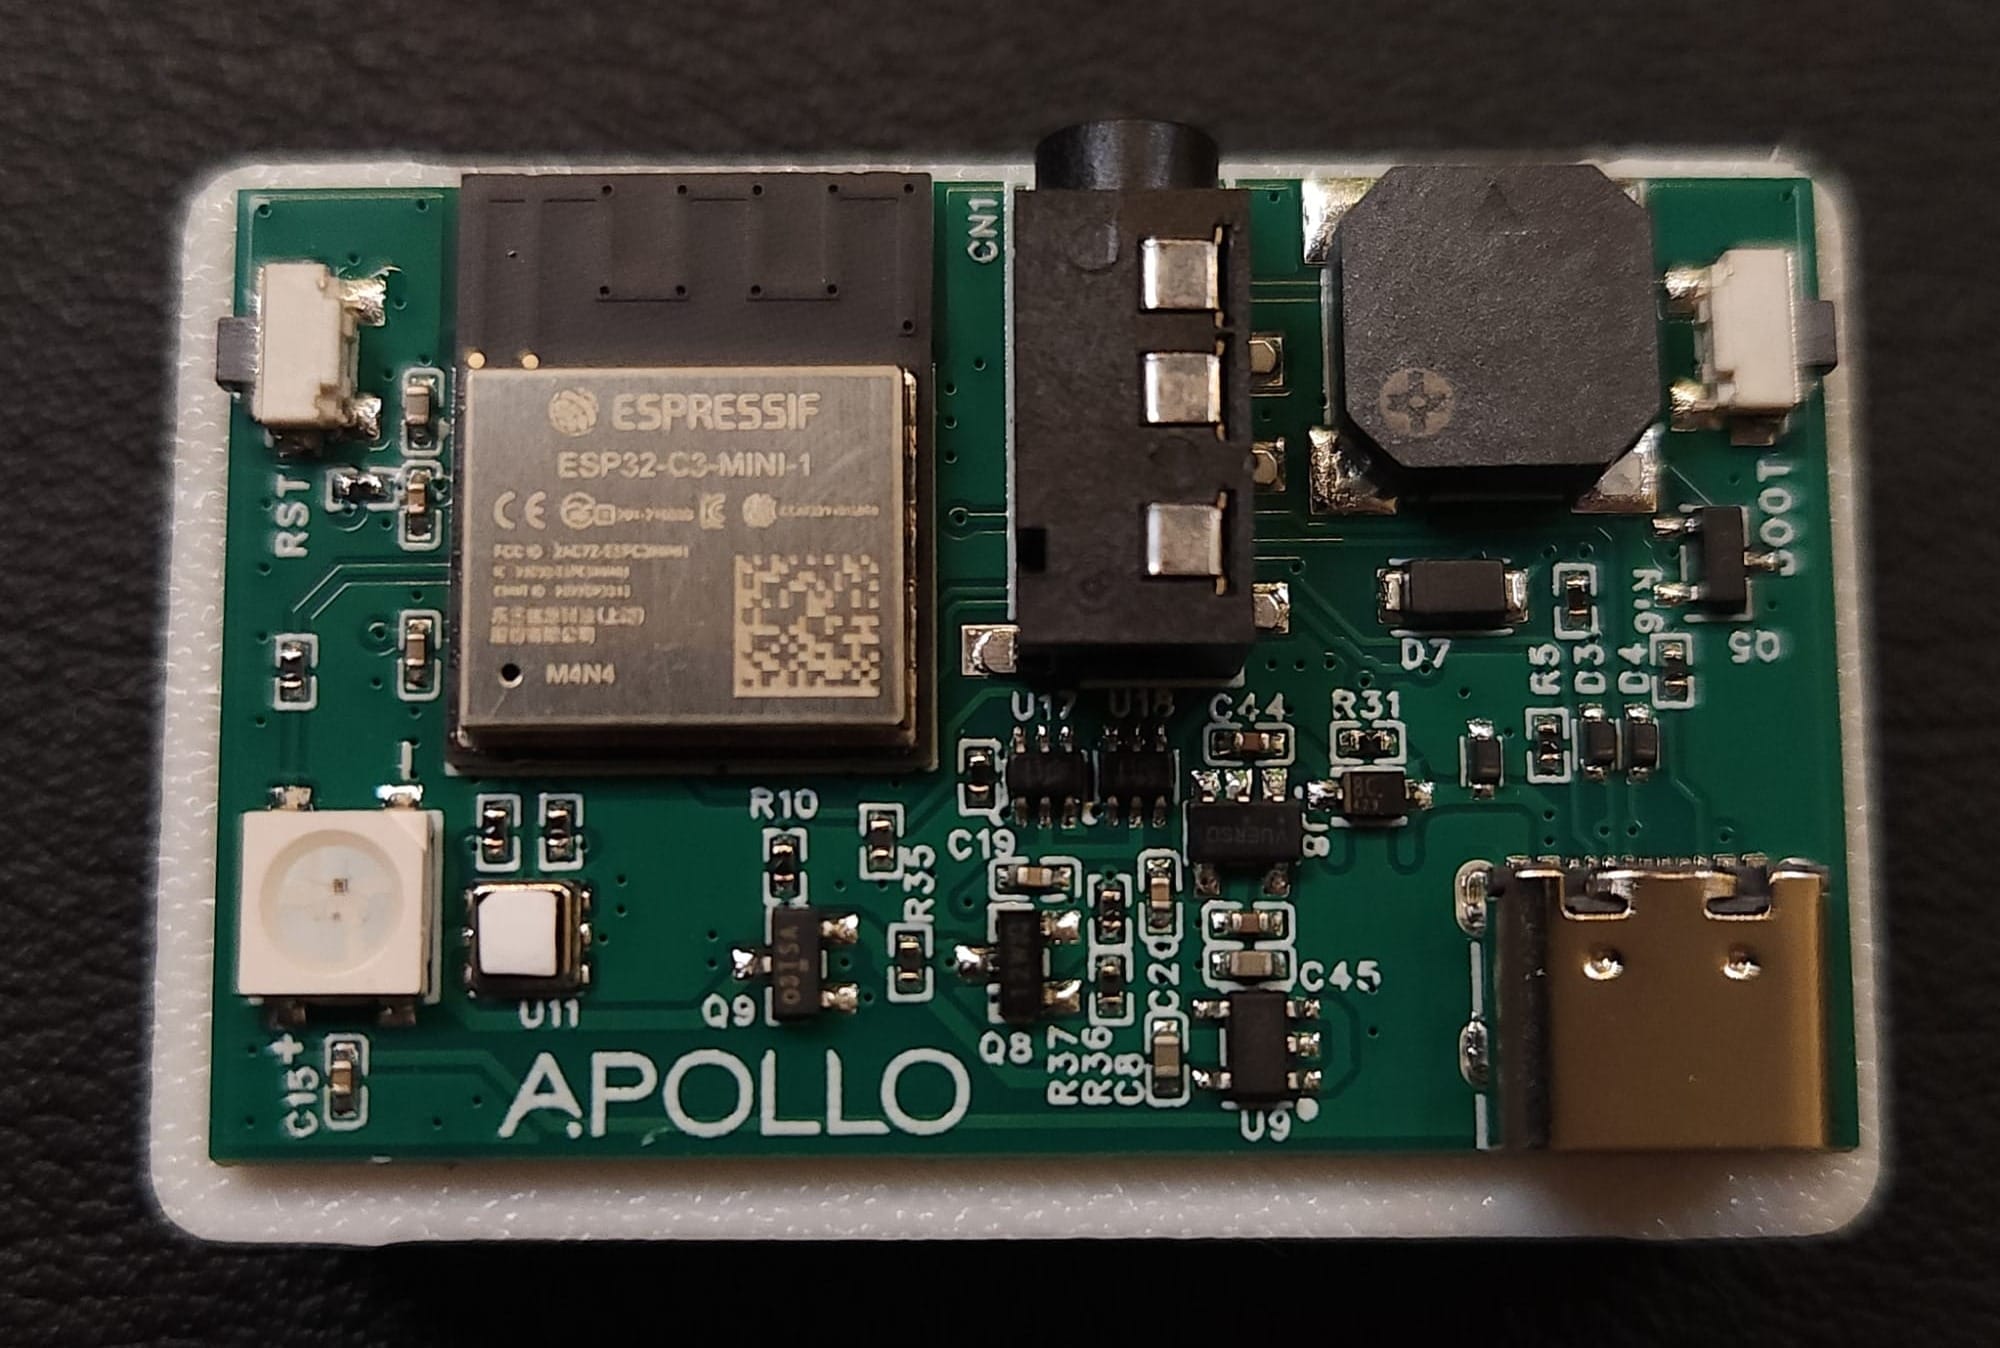
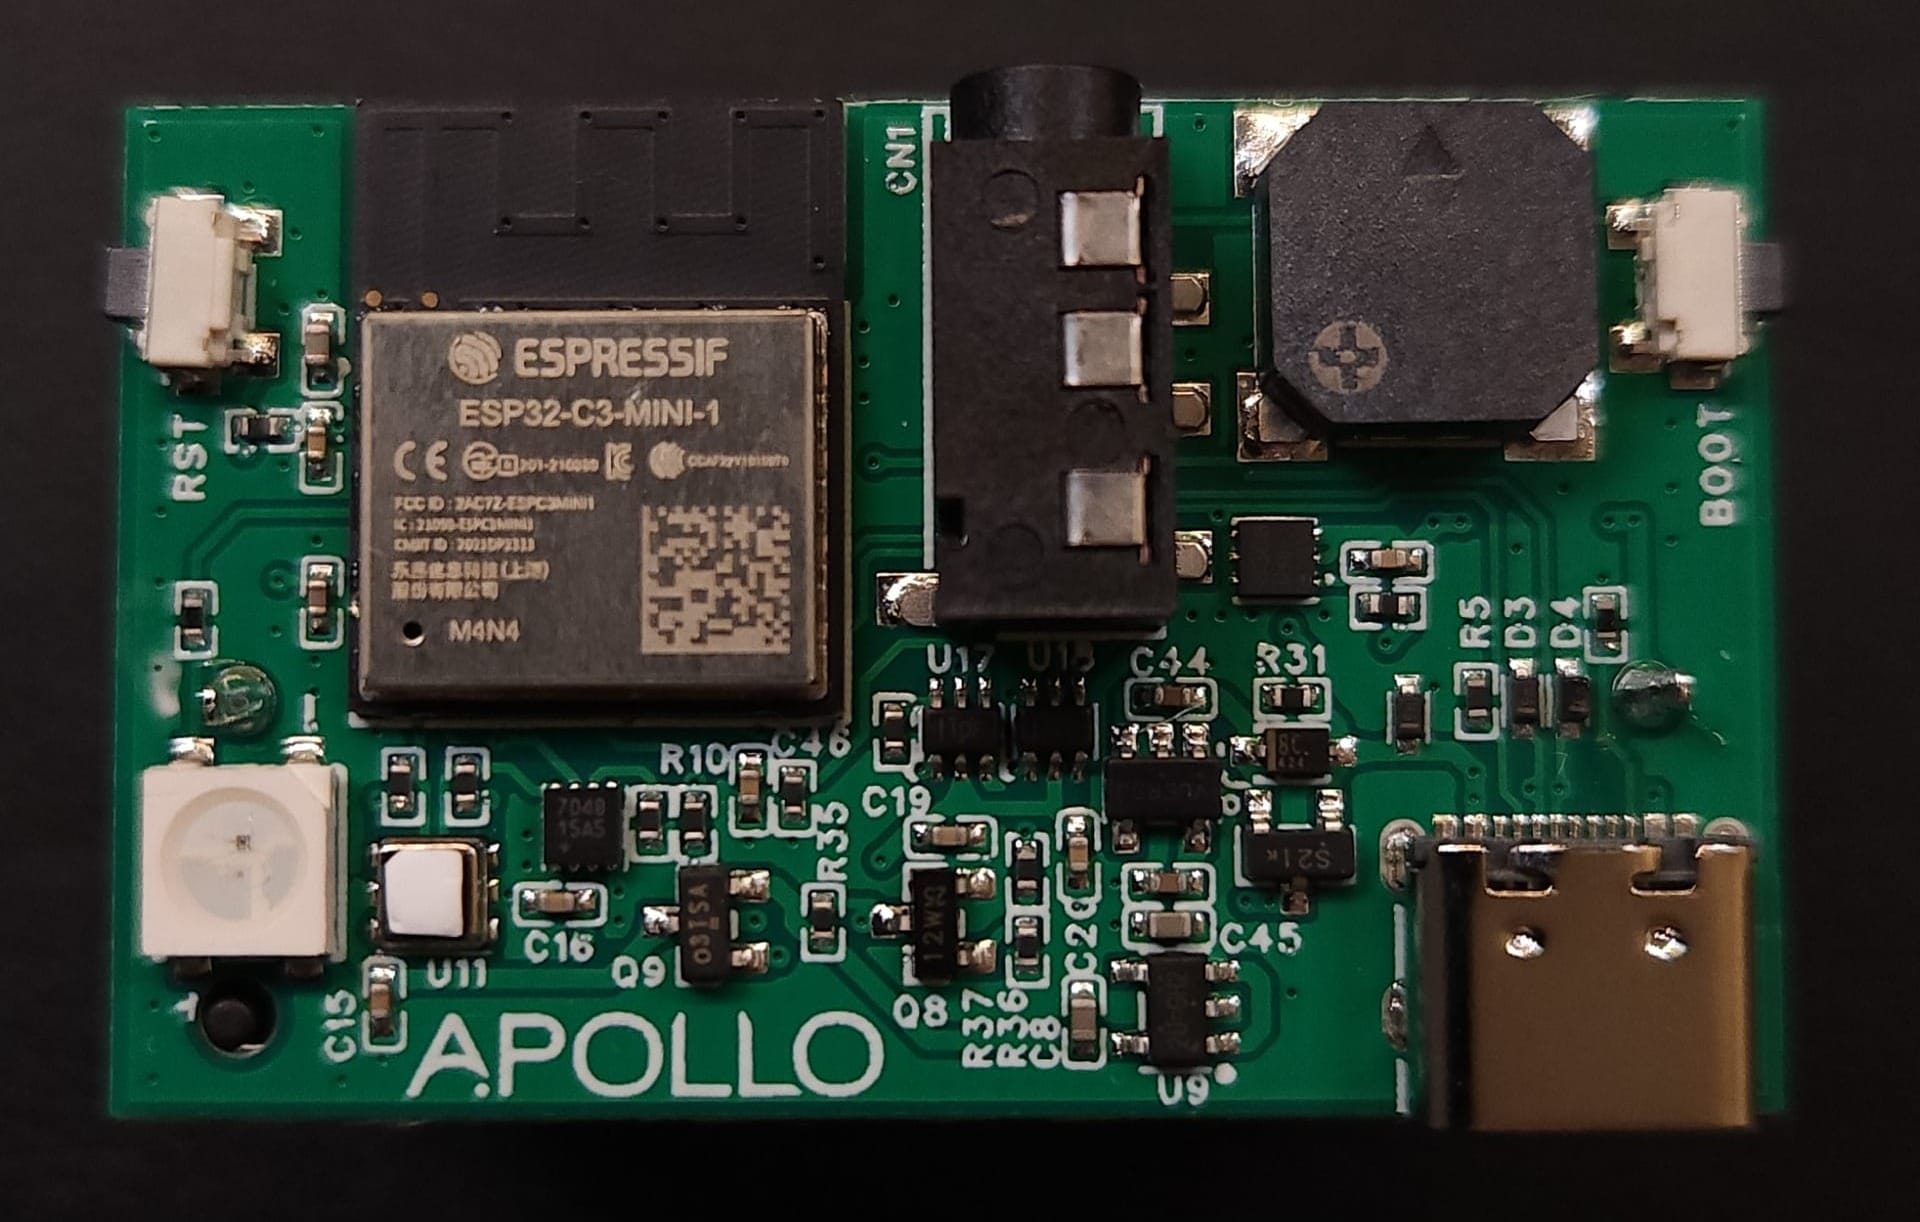
The devices are based on the ESP32-C3-MINI-1 module. The ESP32, 3.5mm jack, USB-C port, RGB light, and buzzer are all visible on the board. They are almost identical with the exception of some power control circuitry.
TEMP-1 sensor (left) and TEMP-1B (right)
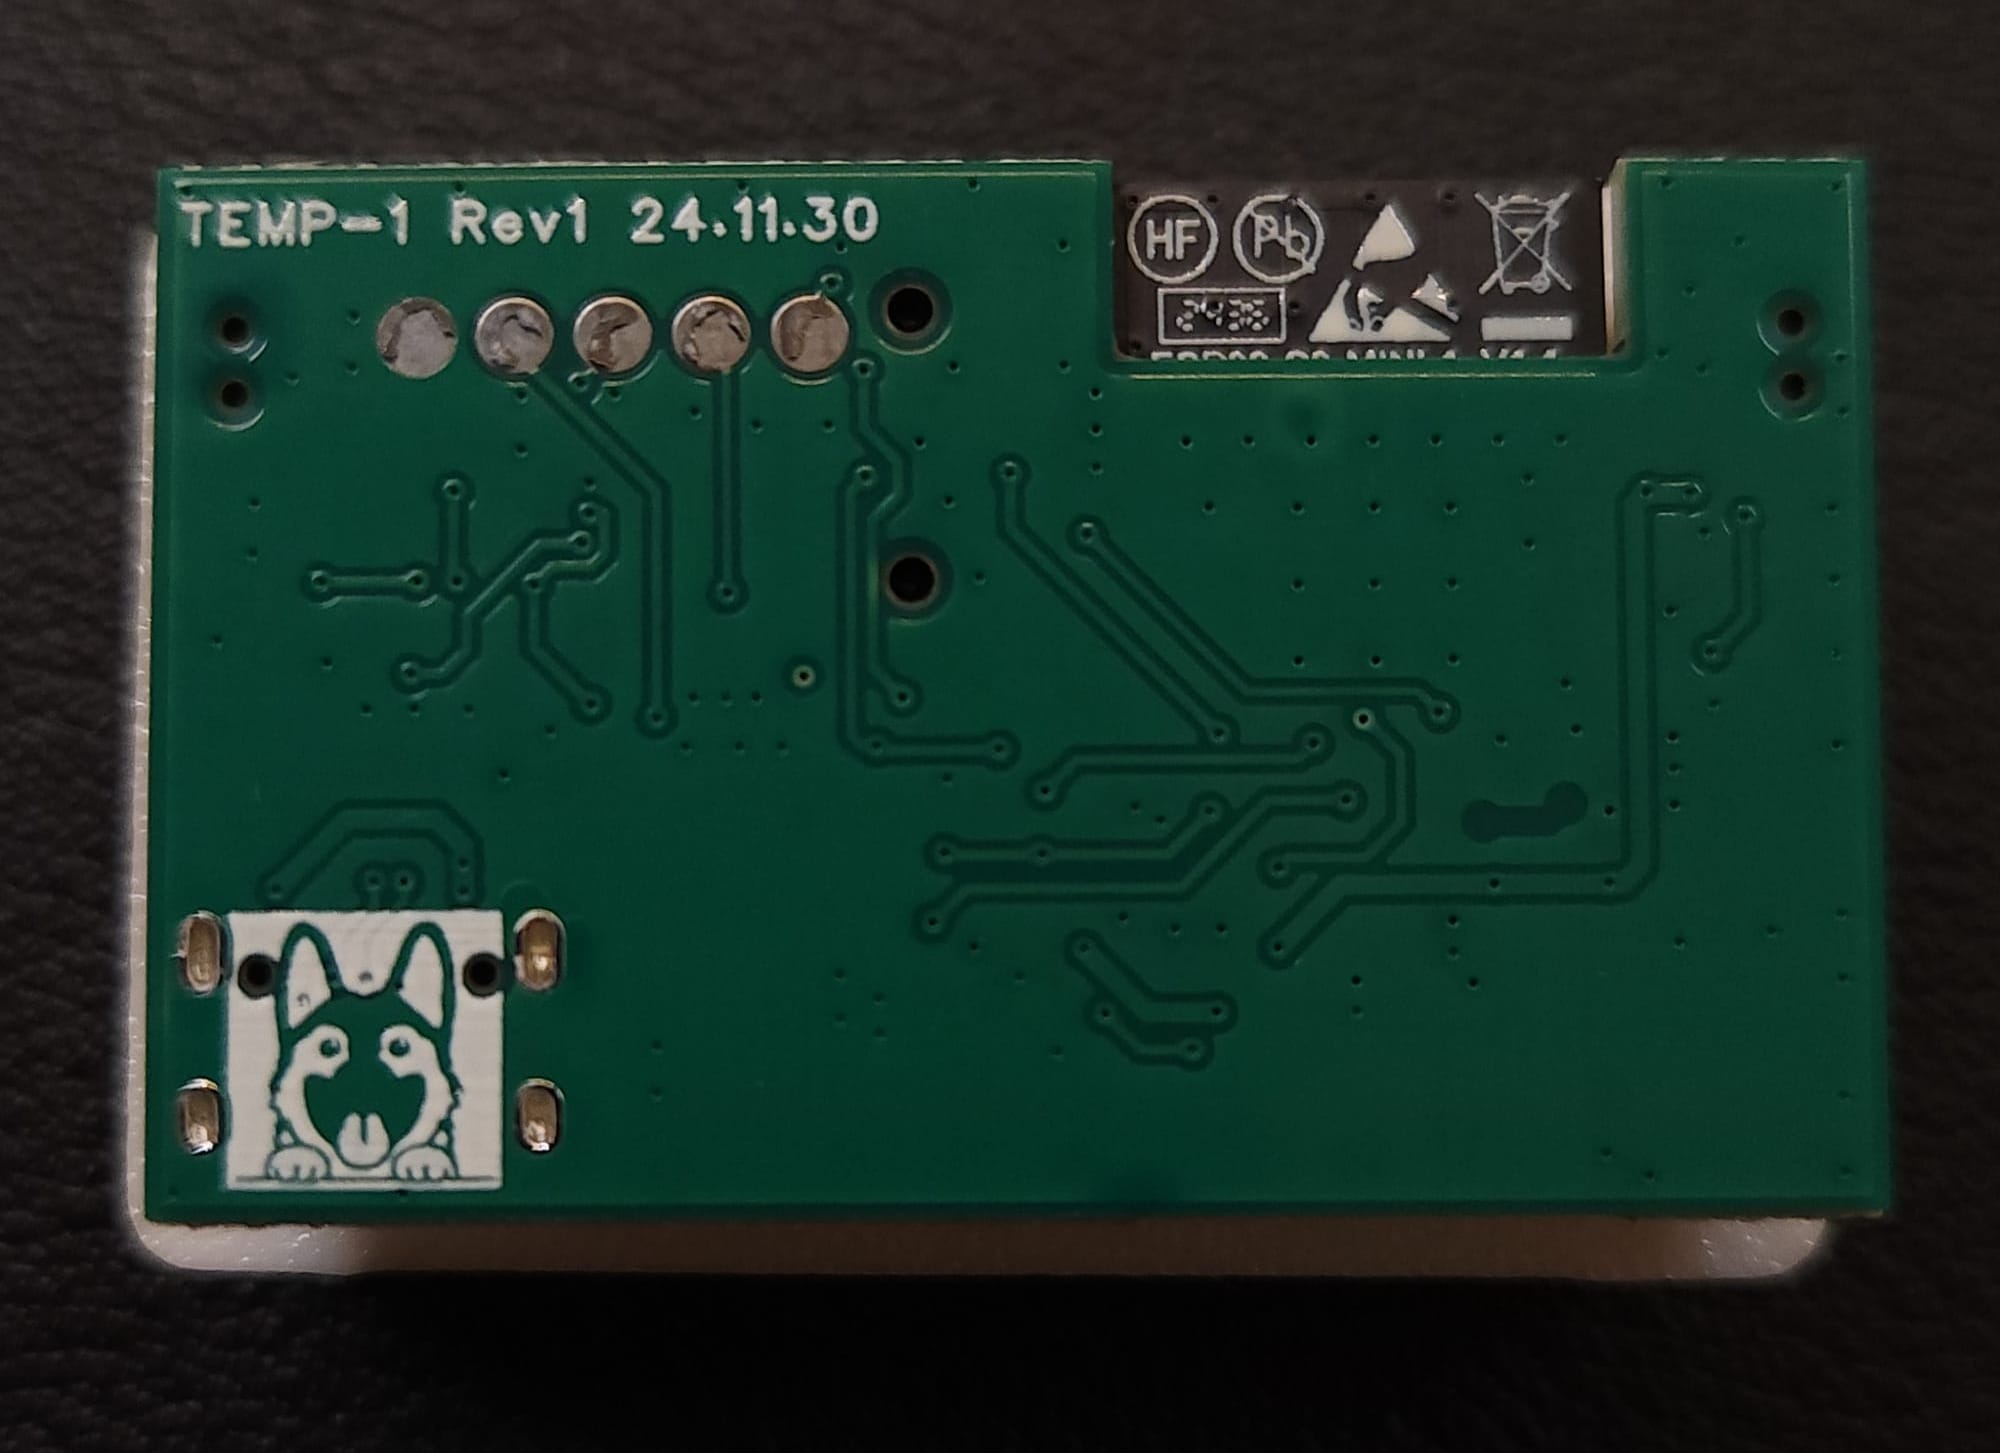
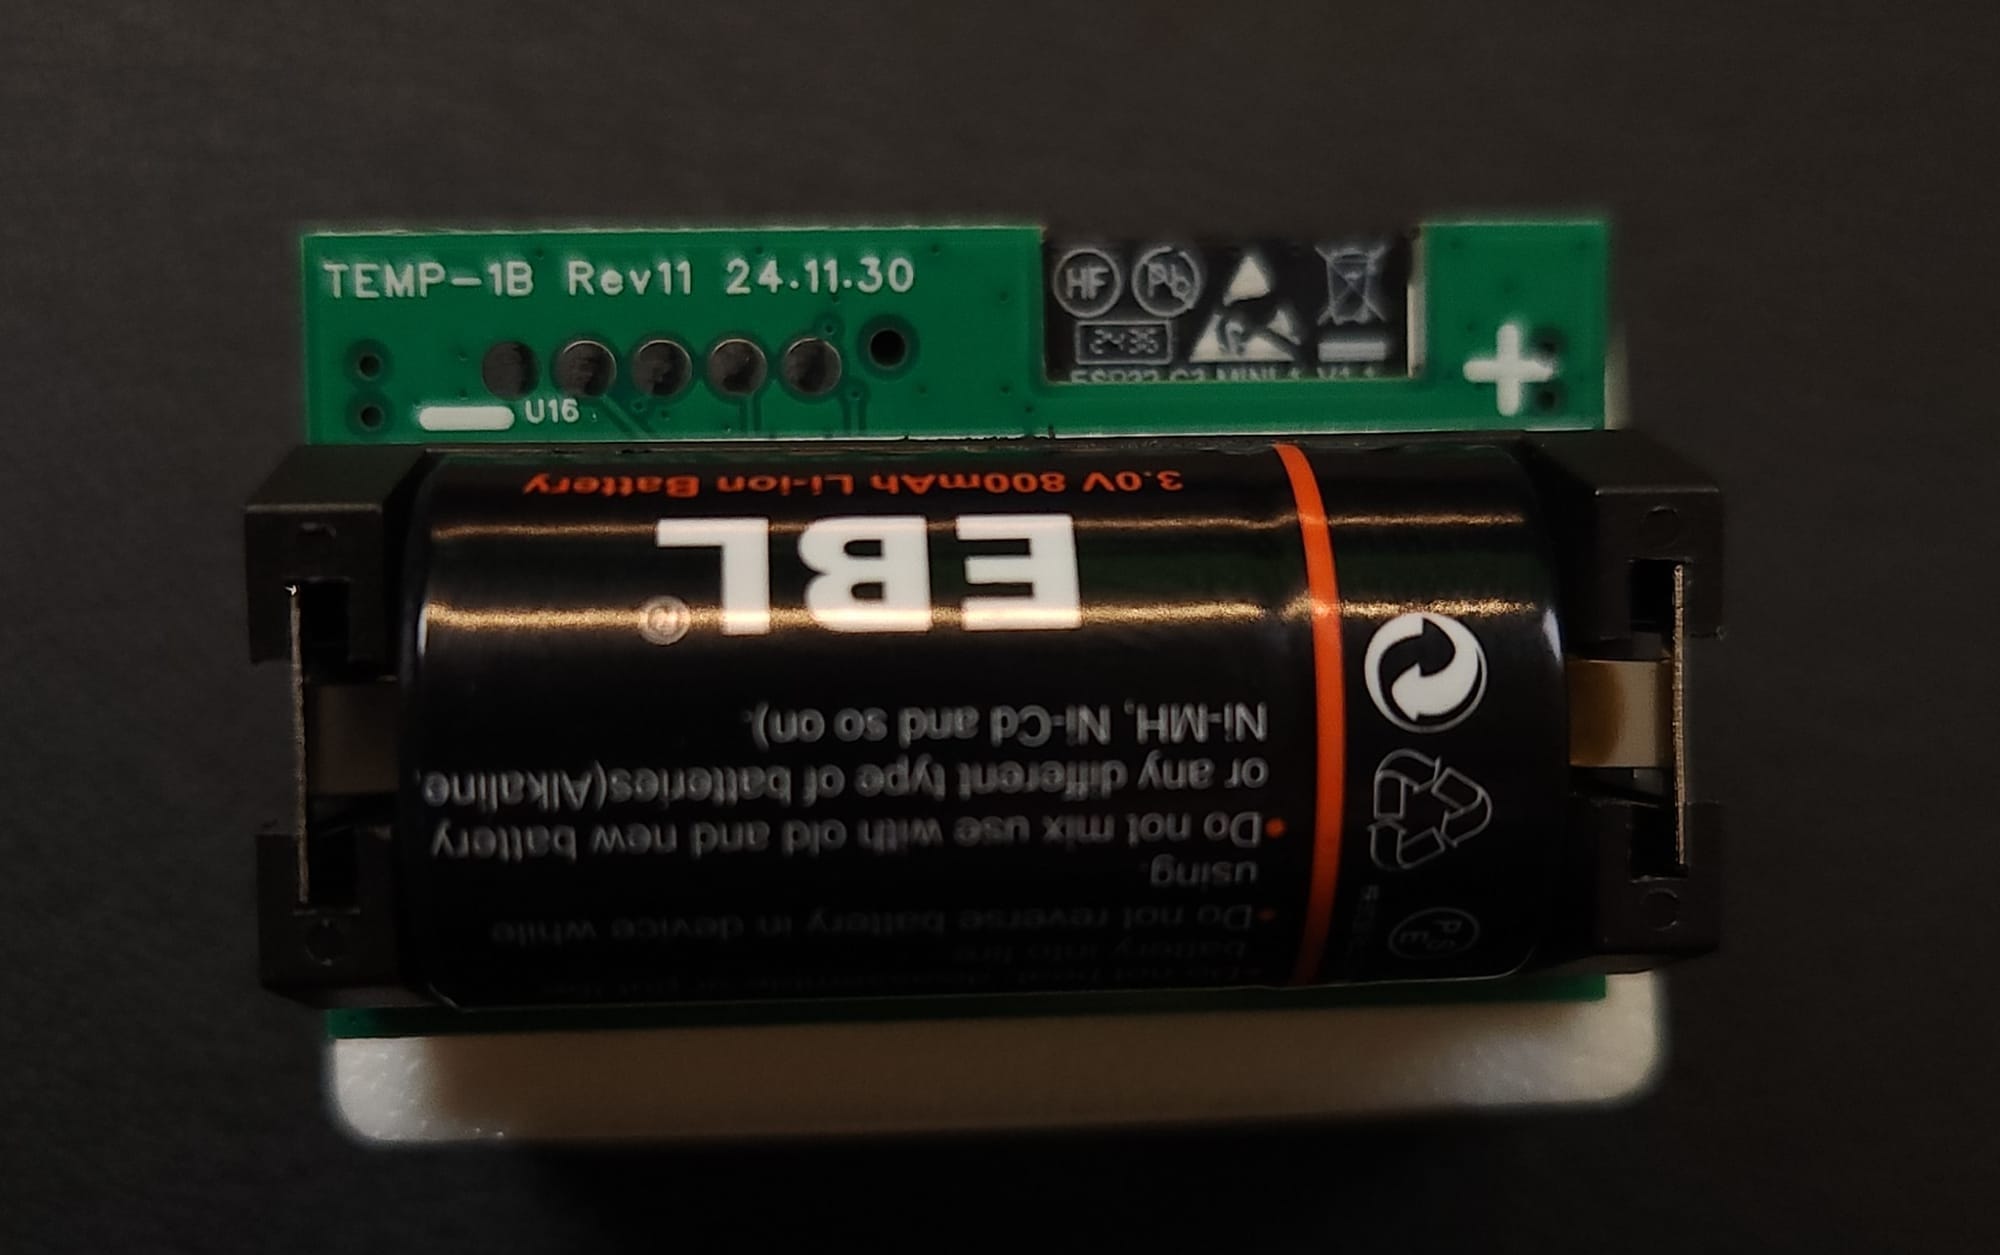
Back side of TEMP-1 (left) and TEMP-1B with battery inserted (right)
Adding to Home Assistant is simple, just like all of the Apollo Automation sensors. Since it is an ESP device that has a built-in Wi-Fi hotspot, simply power it up, connect to 192.168.4.1 in a browser on the device you connected to it, and select your Wi-Fi network.
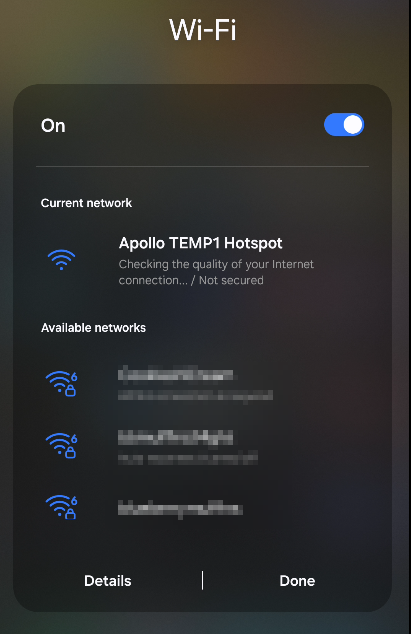
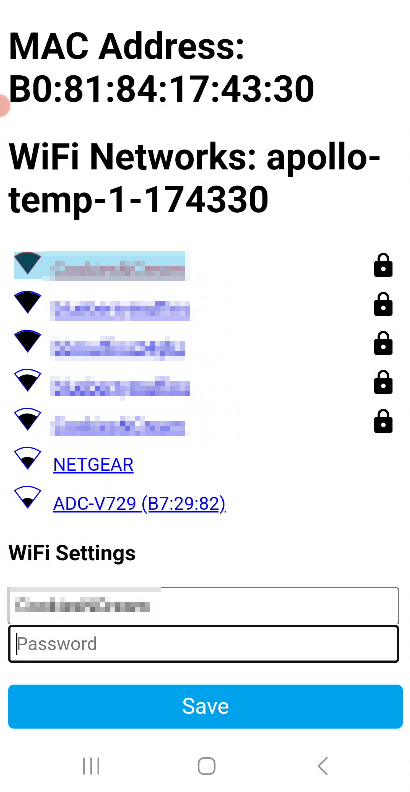
Apollo TEMP1 Hotspot showing as an available Wi-Fi network and a browsers showing the configuration of your own Wi-Fi network
Once it is on the same network as your Home Assistant instance, it should be auto-discovered by Home Assistant and a notification will show up.
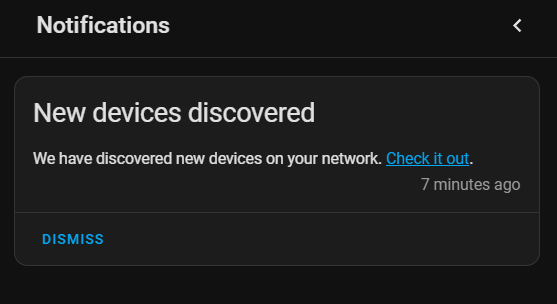
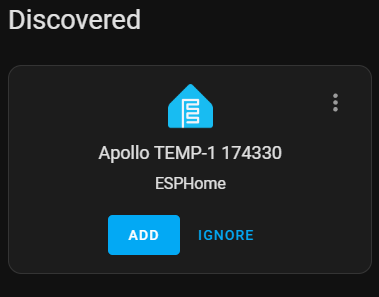
Click the notification, then the ADD button and it will be added to the list of ESPHome devices in Home Assistant.
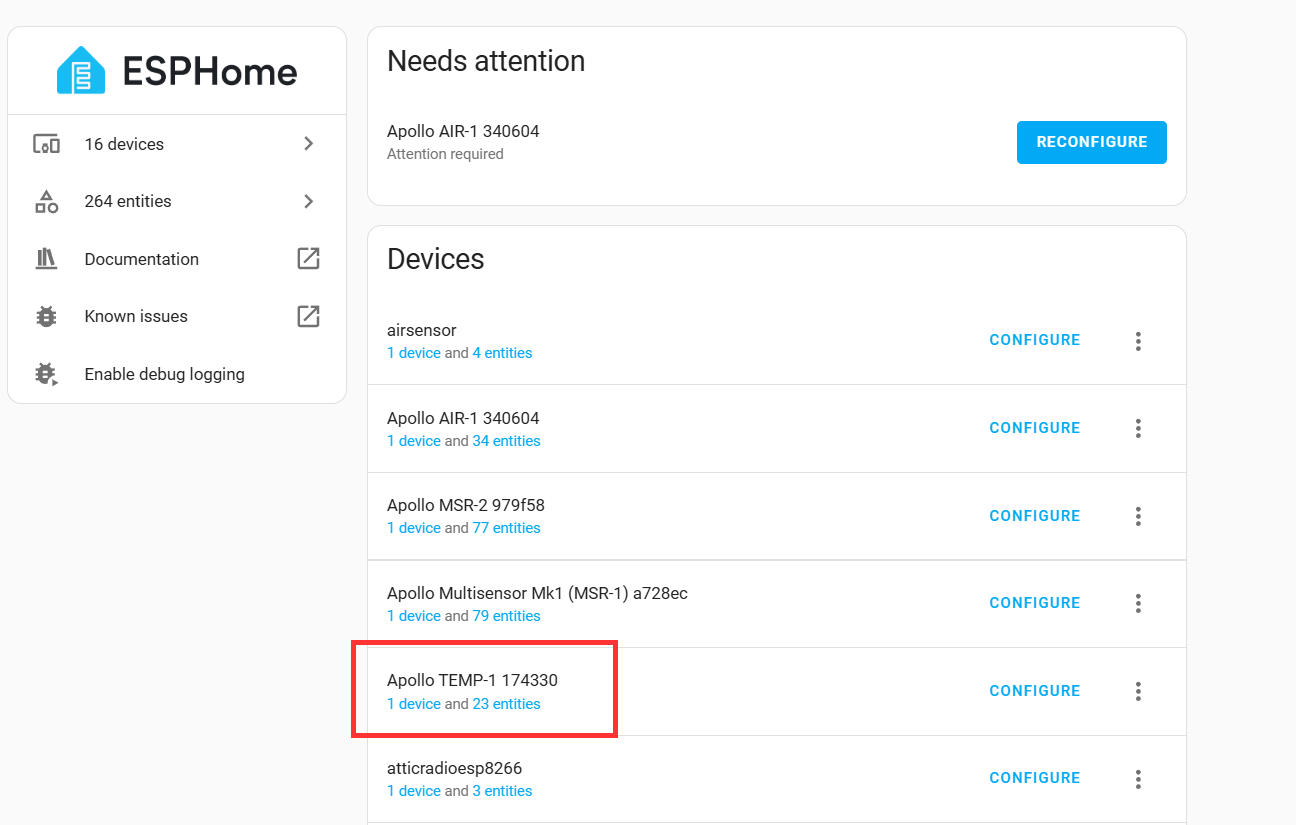
Clicking the device will give you all the details. On the Temp-1B, you will see the battery level and battery voltage.
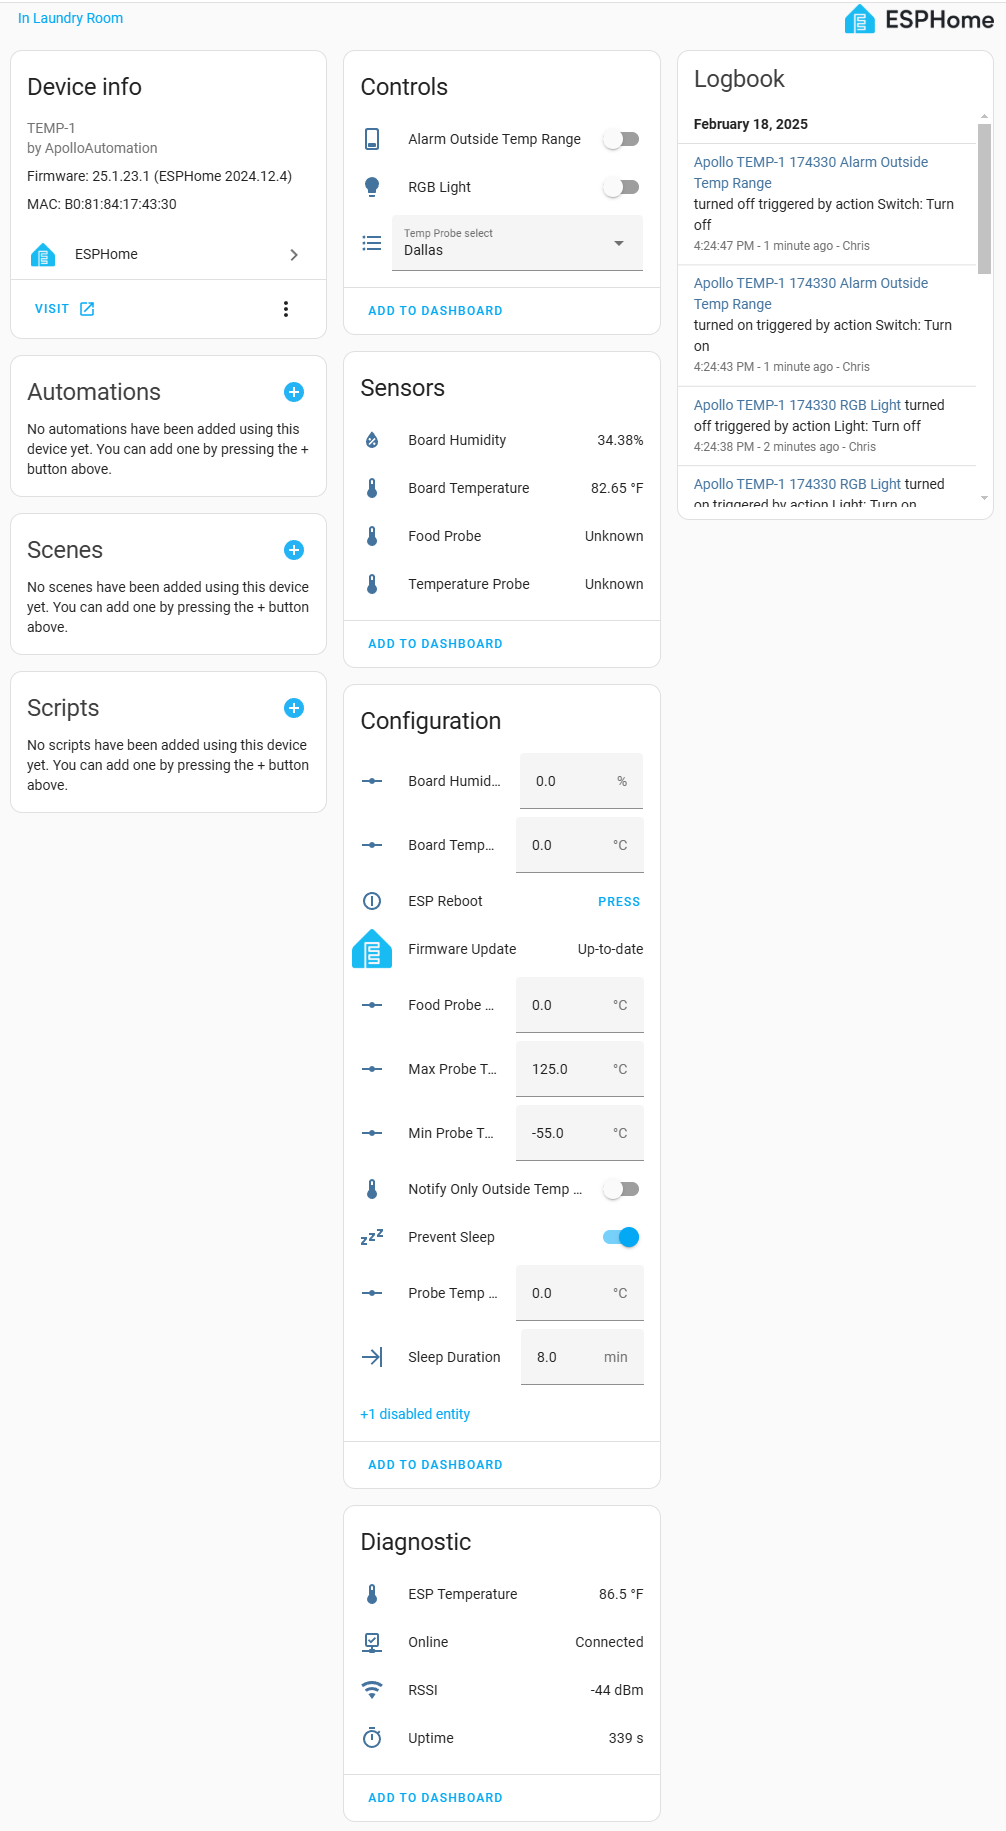
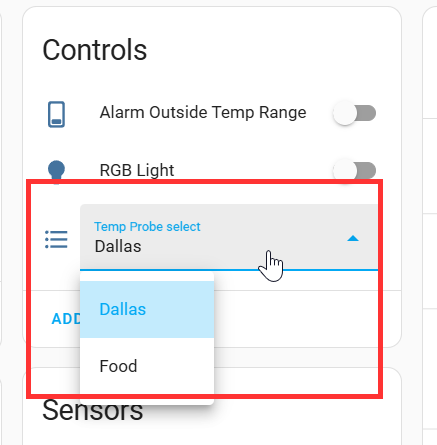
Make sure that you choose the correct Temp Probe in the drop-down. You can choose between the Dallas sensor and the Food sensor. If you haven't plugged in any sensor and are only using the onboard sensor, you will not have an option to select.
What can you do with these?
- The food grade sensor can be used to monitor the temp of your favorite dishes while cooking so you get the perfect doneness.
- Monitor the temp of your freezer or refrigerator
- Monitor a fish tank
- Monitor a covered hot tub
- Monitor a pool (make sure you cover it or put the sensor in a sealed container)
- HVAC systems - Measure the air temp coming out of a vent. Put more than one sensor in place to compare rooms.
- Set the temperature threshold for the onboard buzzer to sound if exceeded.
- Many other uses....
Make sure and watch my video on these devices!
*Some links on this page are affiliate links that earn me a small commission. Thank you for supporting me by purchasing through these links.