
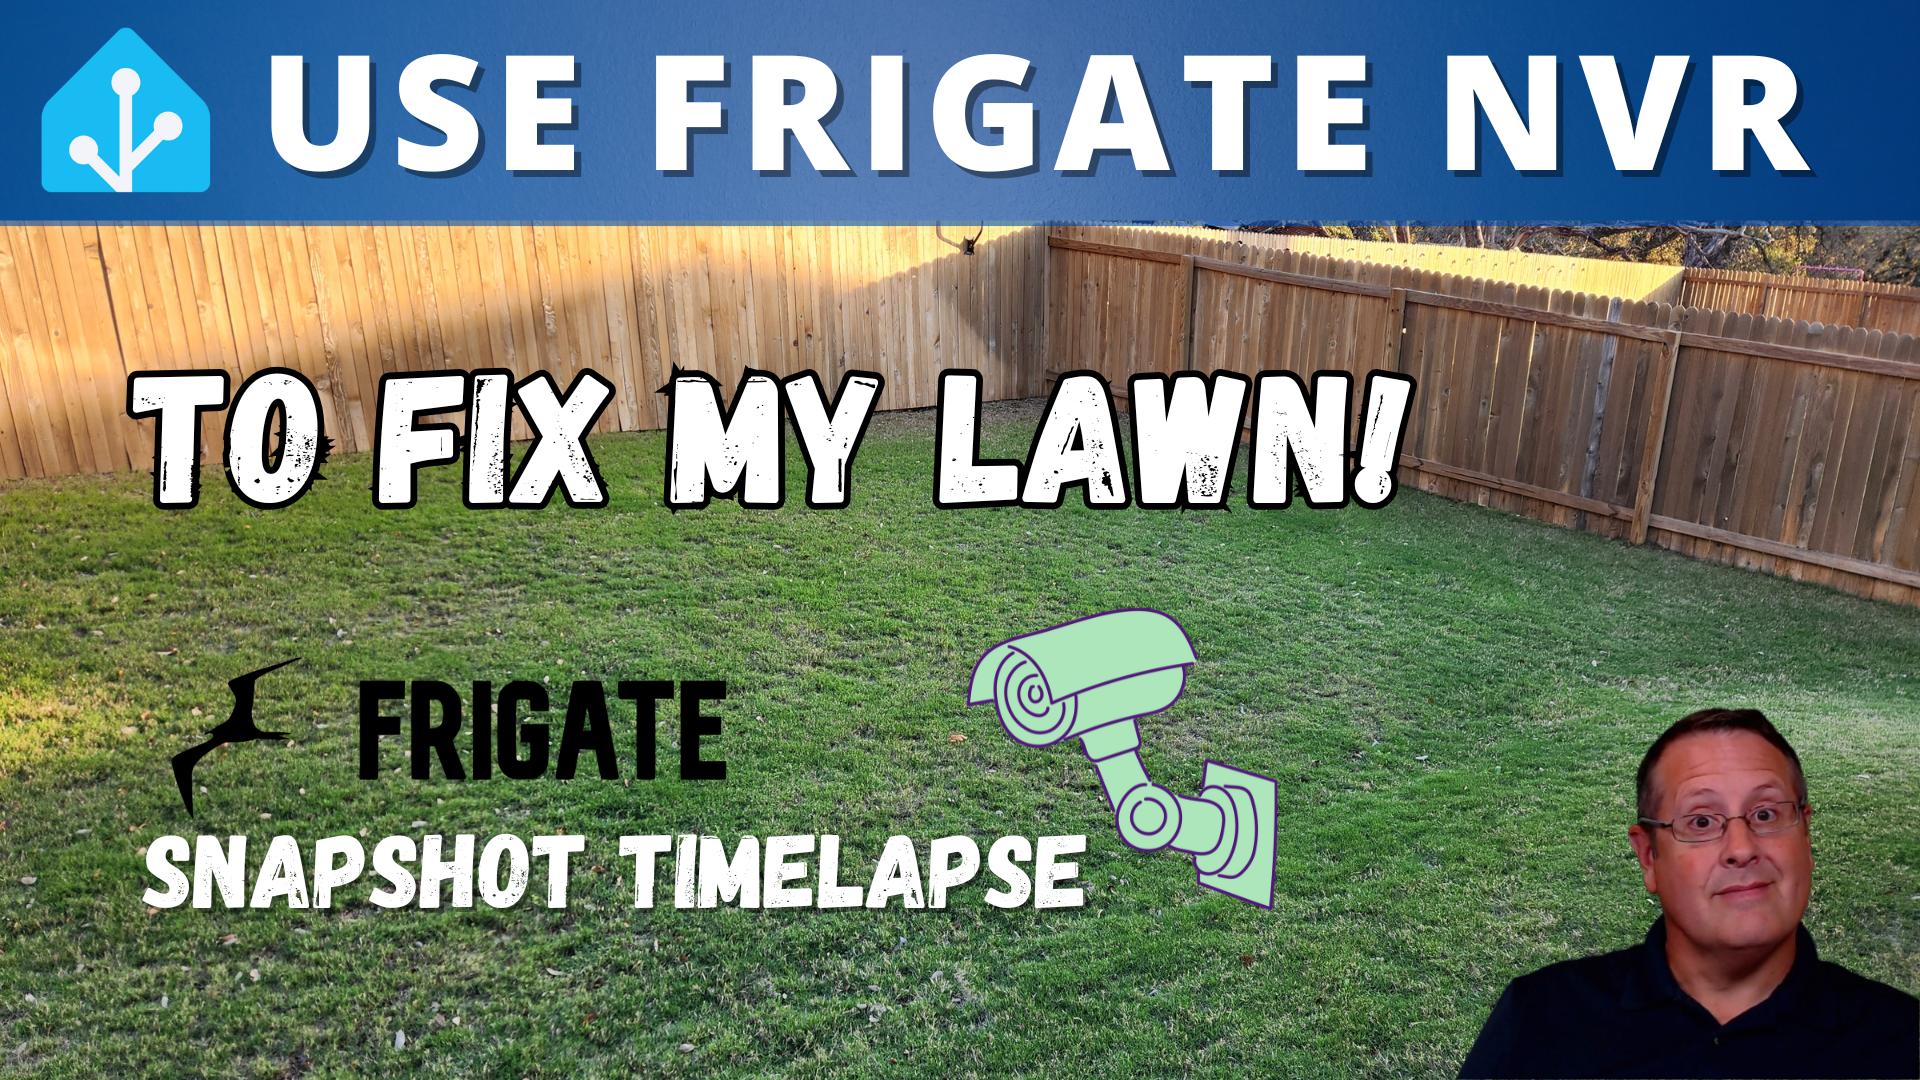
Fixing My Lawn with Frigate NVR
Yes, you read that correctly. I am going to use Frigate NVR to help me fix my lawn, or at least figure out what is going on.
So what is the problem? I have a section of grass that is not growing for whatever reason. My hypothesis is that section of grass is not getting enough light throughout the day. I am supposed to have shade tolerant Hybrid Bermuda but I either I was told a story by the builder or Hybrid Bermuda isn't as shade tolerant as we are led to believe.
To test this hypothesis, I need to know how much sunlight that part of the grass gets throughout the day. While there are probably a dozen different ways to get an accurate, scientific measurement of the total sunlight for a given period, I have have a camera that faces that area.
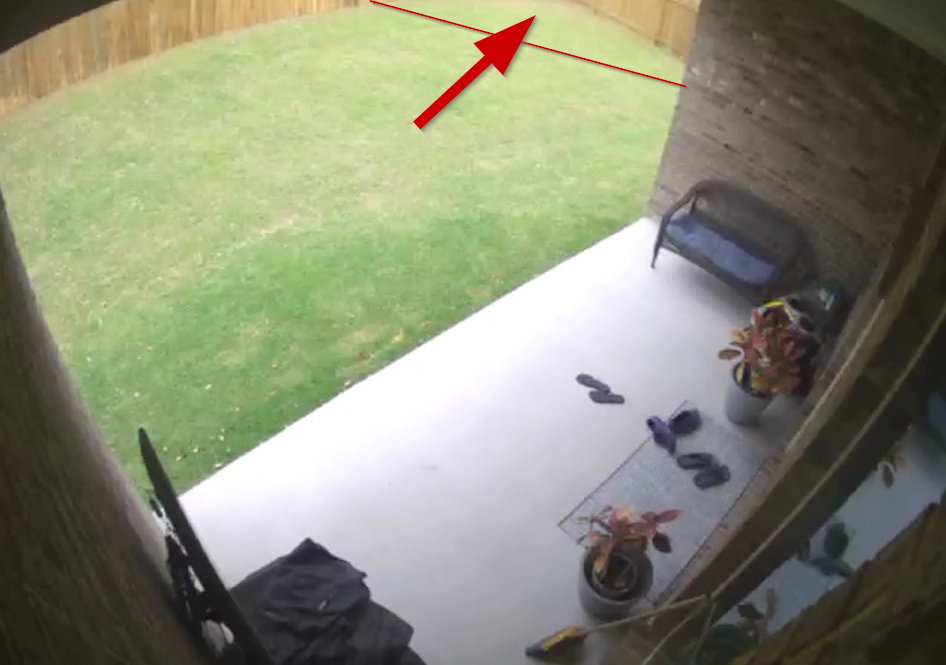
Now, this camera doesn't record 24x7 as that would use a lot of resources I don't want to dedicate to it. This leads me to find an alternate solution and that solution is to take snapshots at a 5 min interval and then create a time-lapse from those images to see if that area is overly shaded.
To make a time-lapse, you need the following:
- Frigate NVR. I'm running Frigate in a Docker container on a mini PC.
- Frigate NVR Home Assistant integration >= version 5 with your Frigate cameras showing as entities. As of this writing I'm on v 5.8.0 of the integration.
- Obviously a working camera (or more) in Frigate.
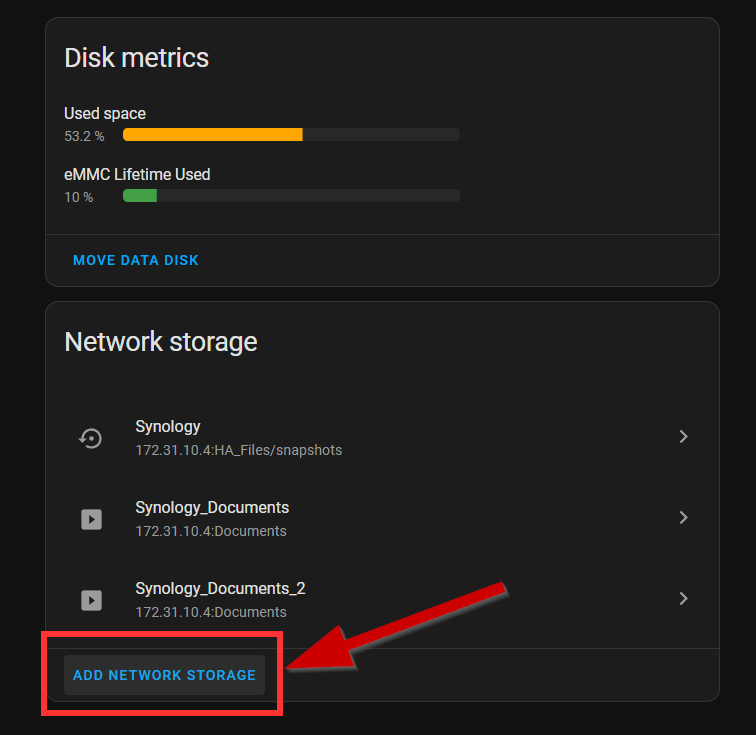
- Some place to store your snapshots. I'm using a Synology NAS but you can store directly on your HA device if you have space.
If you have all of the above, you are 90% there already. The remaining piece is to set up an automation to capture those images and store them.
First, crate a time-based trigger that runs every 5 min. Choose Time and Location and then Time Pattern
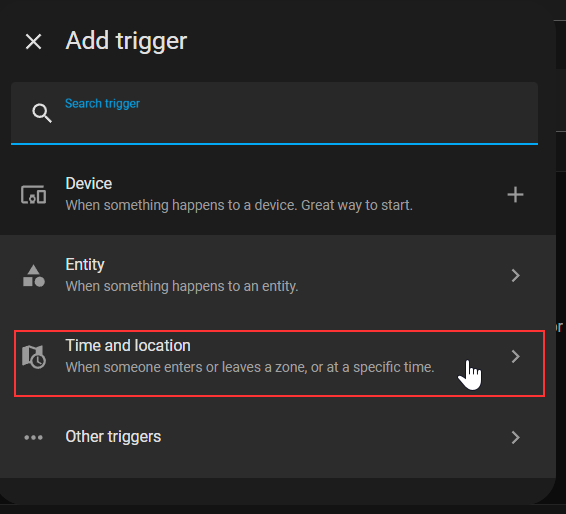
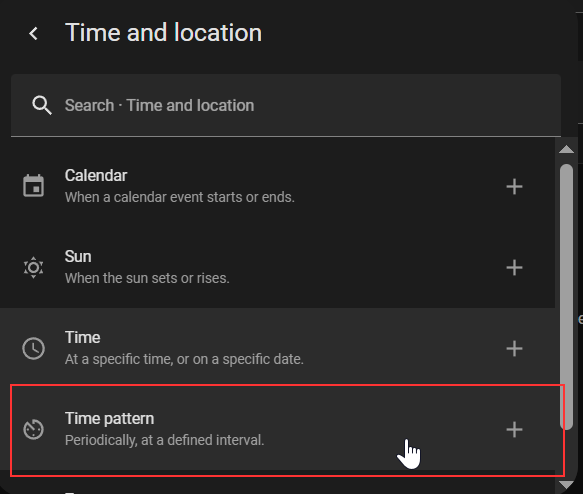
Choose Time and location and then Time pattern
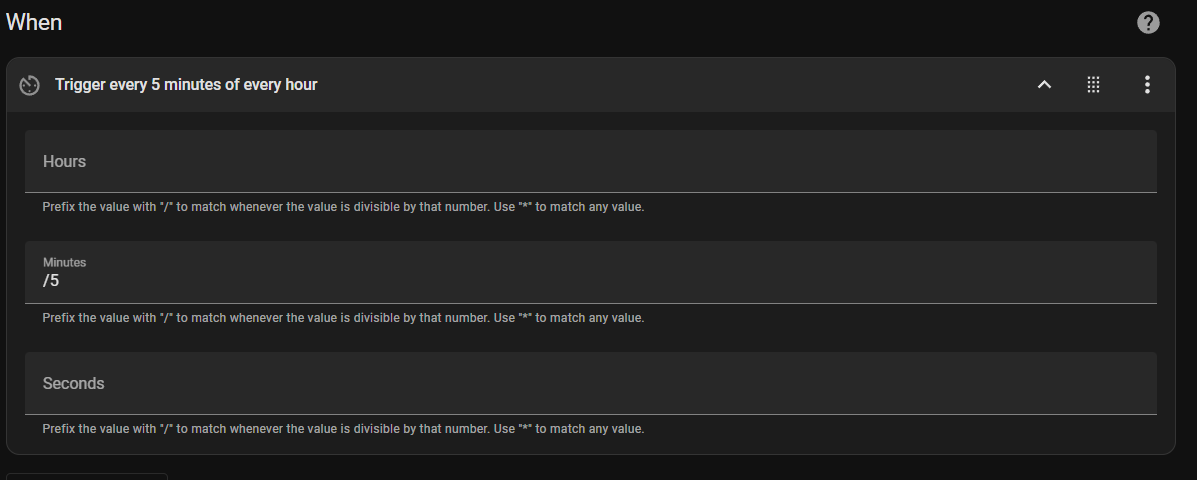
Input "/5" for the Minutes option. Leave the rest alone.
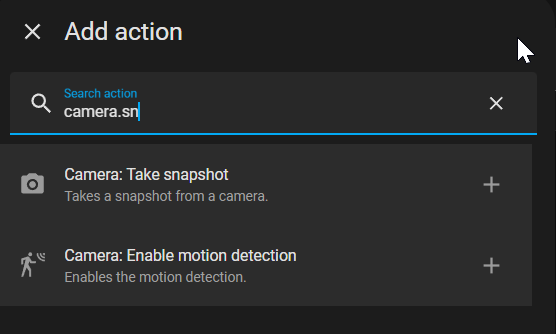
Next you want to add an action. This will be used to create the snapshot. Choose "Camera: Take snapshot".
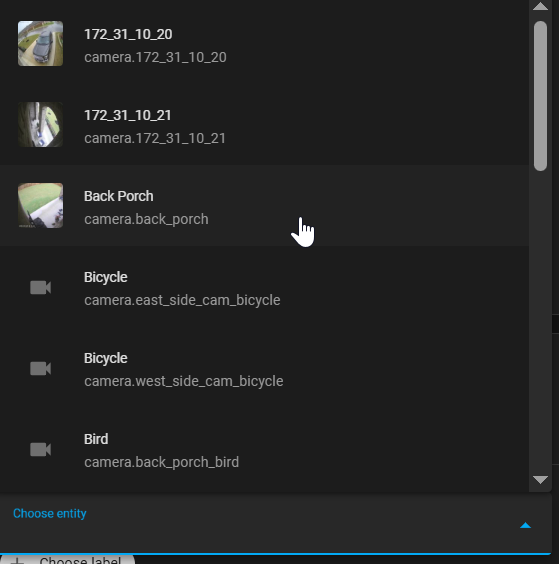
Choose the camera that you want to get a snapshot from. If you don't see any cameras, you need to make sure that you have your cameras and the Frigate integration set up properly.
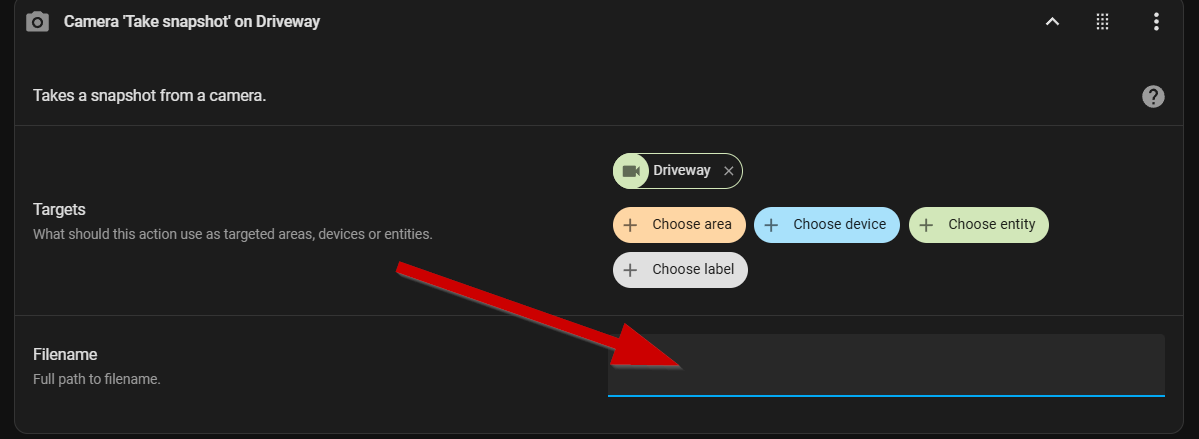
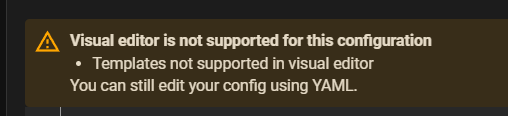
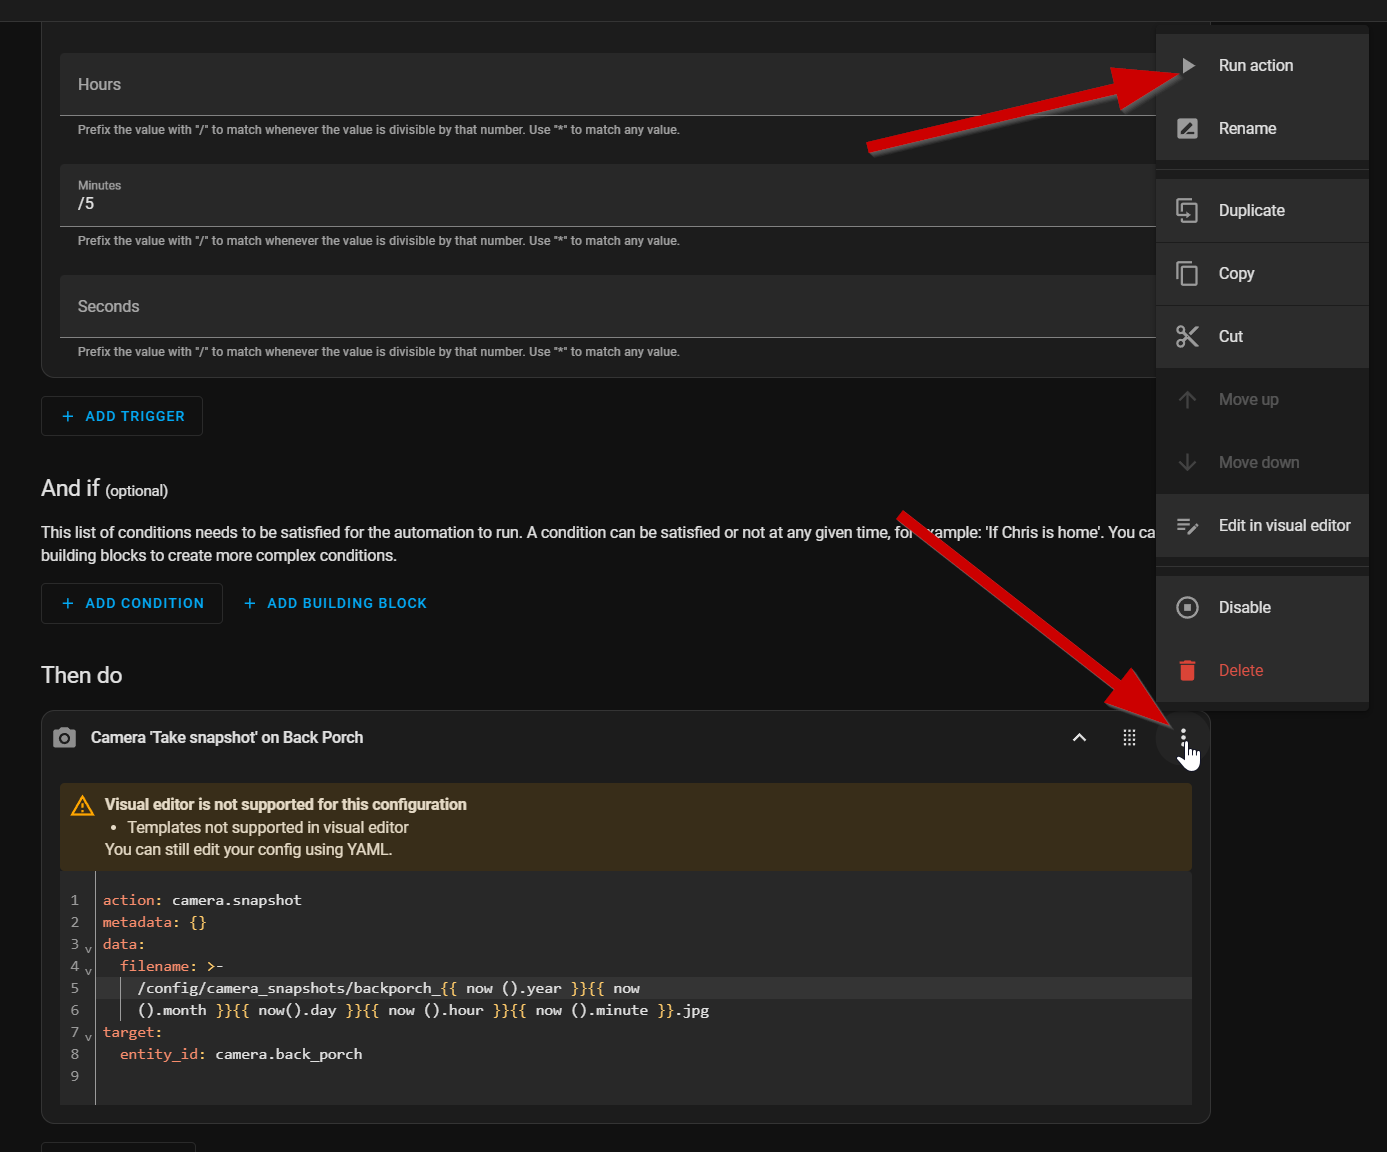
Finally, specify a file location where the snapshots will be stored. If you use templating, as you type the input field will change to yaml code. This is because templates are not currently supported by the editor (as of this writing).
In order to get distinct, date and time stamped filenames, templating is necessary. This is the code I use to get the filenames for each snapshot. I'm including the entire action block below since Home Assistant will show that block when trying to use templates.
action: camera.snapshot
metadata: {}
data:
  filename: >-
    /media/Synology_Documents/camera_snaps/backporch_{{ now ().year }}{{ now
    ().month }}{{ now().day }}{{ now ().hour }}{{ now ().minute }}.jpg
target:
  entity_id: camera.back_porch
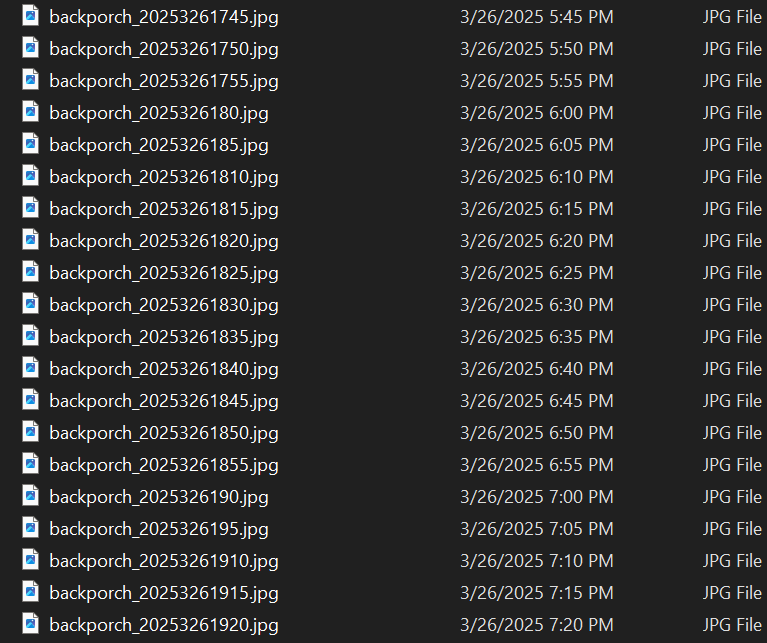
The filename will be something like "backporch_20253261929.jpg"
Here are more examples from my file explorer.
Once you have everything configured, you need to run a test of the action itself because you might run into file system issues.
If you get this error, you need to allow the directory permissions in your configuration.yaml file.
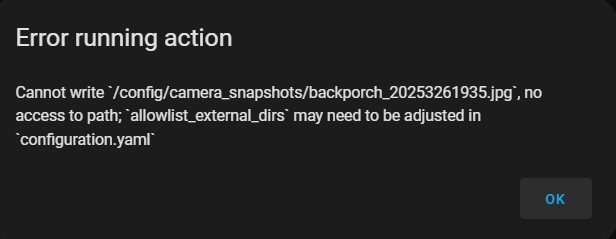
If you encounter the above error, edit your configuration.yaml file to include the directory in the configuration. Here is what I have configured. I can store snapshots in any of the below directories.
homeassistant:
  allowlist_external_dirs:
  - /config/cam_snapshots
  - /config/www/cam_captures
  - /media
I will caution you against using a raspberry pi and SD card for storing snapshots. If you are serious about this, set up some external storage and use that instead. Examples are a NAS like I use or even just and external drive attached to your pi. SD cards are notorious for failure and writing to them every 5 min will decrease their lifespan. In many cases, your Home Assistant install is running on that SD card so if you kill it, you have to re-install Home Assistant.
Adding network storage is straightforward in Home Assistant. Go to Settings -> Storage and click Add Network Storage.
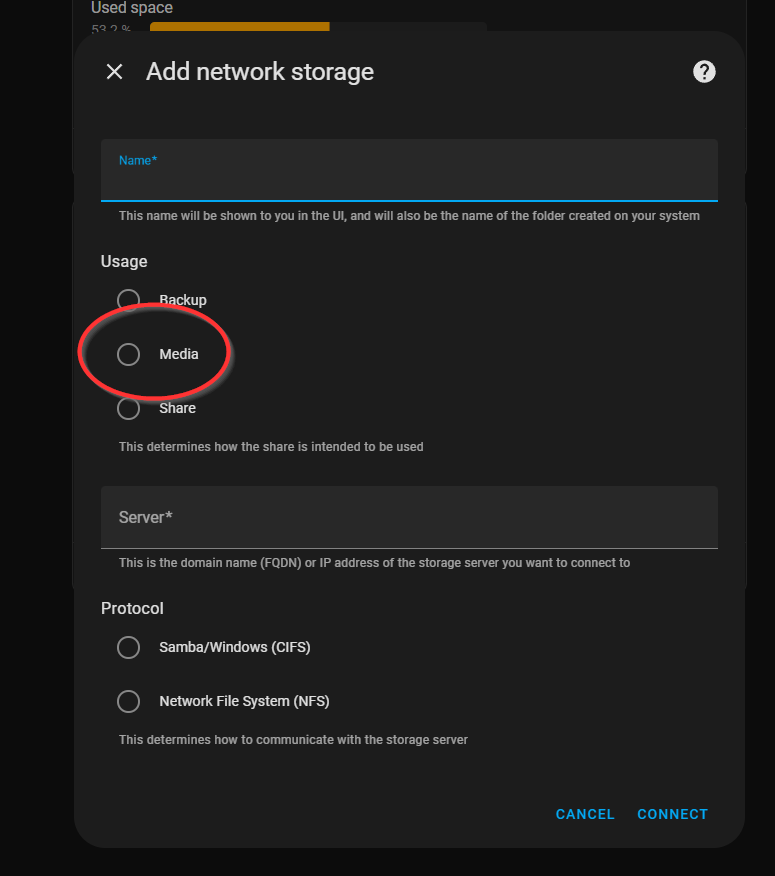
Choose "Media" for the type of storage and fill in the rest of the info. This will be specific to your storage options (if you have a NAS, etc).
Now that you have all this setup, you should be getting snapshots every five minutes in the directory that you provided in the action.
Hopefully, this was helpful. You can even extend this to send snapshots to a weather website if you like, although you'll need a few extra things to get that done depending on the weather site you choose.
Thanks for reading and make sure you watch my video on this topic.