Home Assistant Voice Preview Edition

Local Voice Control Has Never Been Easier!

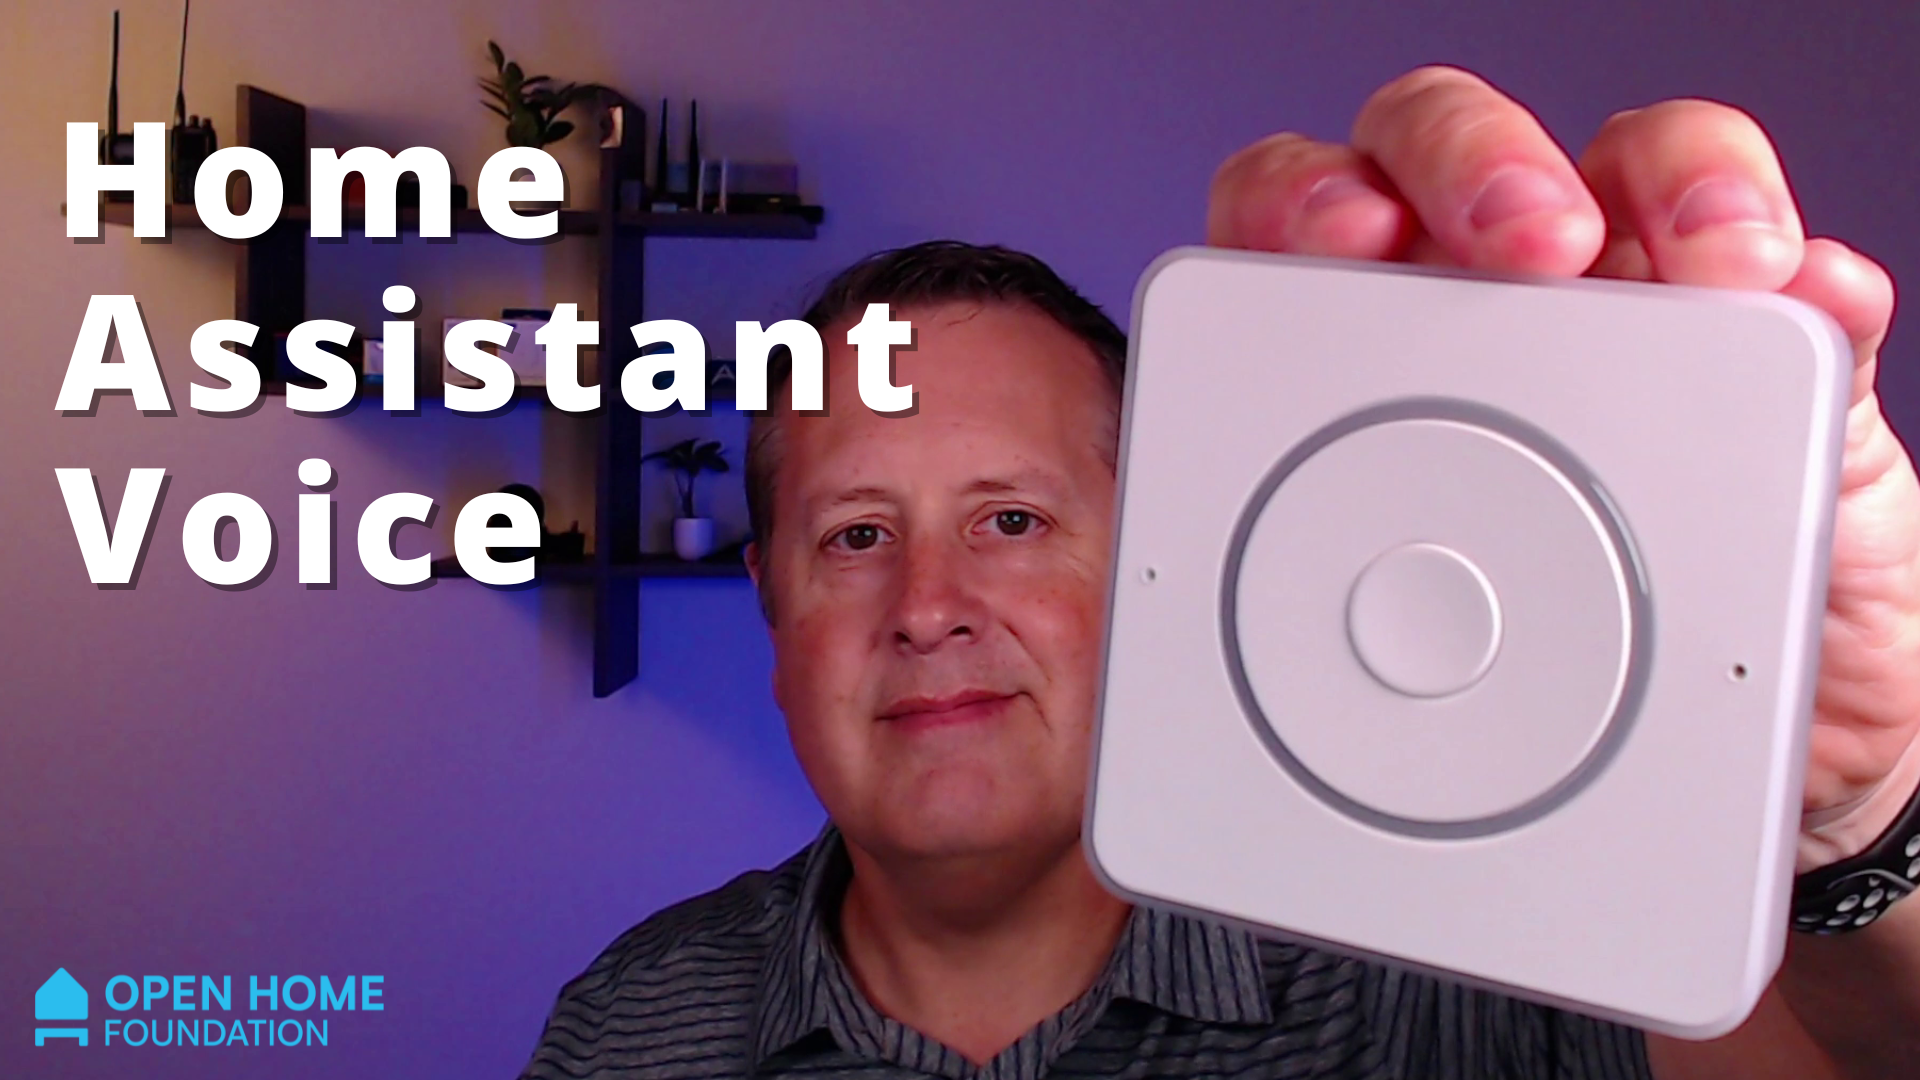
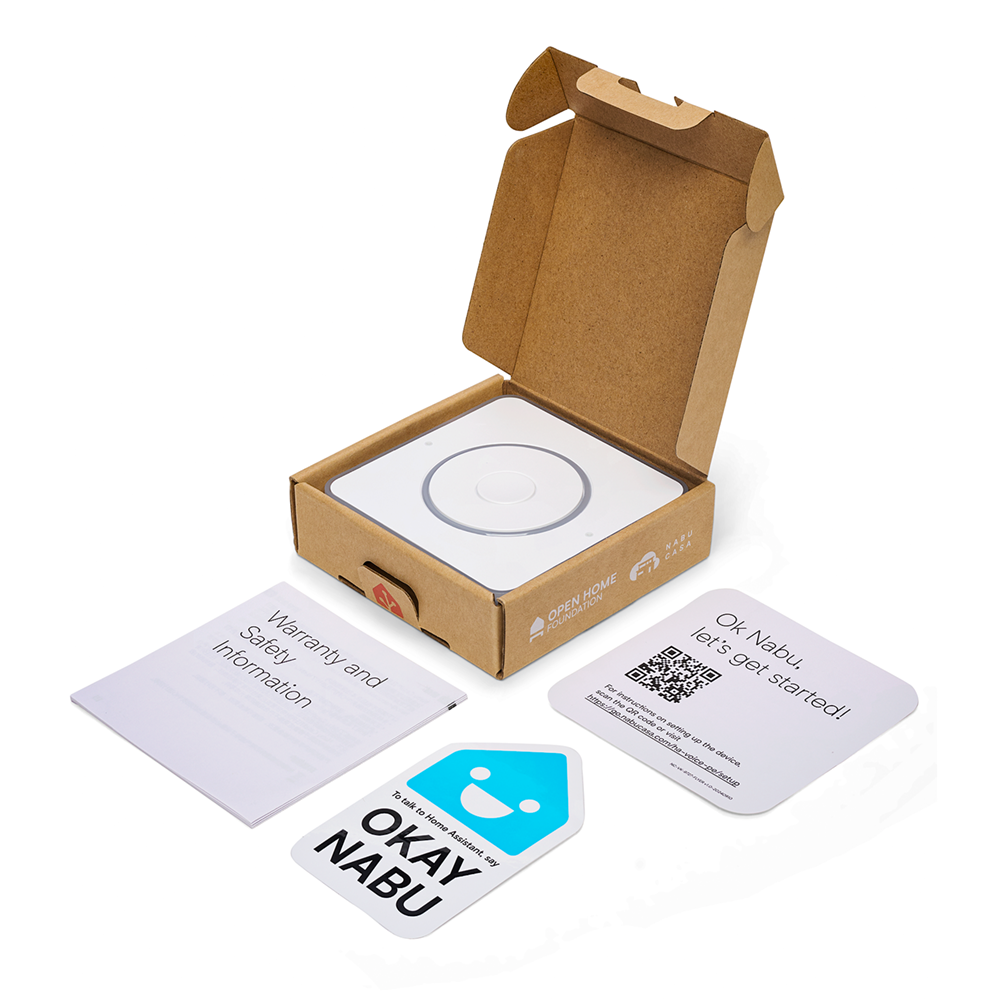
Home Assistant has released the Home Assistant Voice Preview Edition Hardware. It is designed with privacy in mind, is open source, and seamlessly connects to Home Assistant.
I was fortunate enough to receive one of these amazing units prior to general release and have been playing with it as my daily driver. It has truly been a great experience. It's power is the ability to use Home Assistant to control your smart house. It can also be combined with an LLM to enhance the experience even more, so much so that it could possibly replace your Google or Alexa smart speakers.
Features
- This is the first purpose built device by the Home Assistant team, for Home Assistant. That means that if you are running Home Assistant, you will get best in class voice control.
- As of this writing, the MSRP for the device is $59, which puts it in-line with many other smart devices.
- Fully local operation. If you lose Internet, you still have voice control.
- Optional private cloud via the Home Assistant Cloud if your hardware isn't able to handle voice processing.
- Dual microphones and XMOS audio processor.
- LED ring for visual feedback.
- Rotary dial and multifunction for tactile control of volume and Assist triggering.
- Injection molding for clean look. Fits nicely into any decor.
- Expandable via ESPHome. Additional sensors can be added via the Grove port.
Specifications
(Taken directly from the press release as of this writing)
|
SoC |
ESP32-S3 SoC with 16 MB of FLASH storage 8 MB octal PSRAM |
|
Audio Processing |
XMOS XU316 Featuring: Echo cancellation Stationary noise removal Auto gain control |
|
Power/data |
USB-C, 5 V DC, 2 A |
|
Radios |
2.4 GHz Wi-Fi Bluetooth 5.0 Low Energy |
|
Audio output |
3.5 mm (⅛”) stereo headphone jack Digital to analog converter (DAC): TI AIC3202 48 kHz sampling rate |
|
Physical controls |
Multipurpose button Rotary dial for volume and other input Mute switch that physically cuts power to the
microphone |
|
Microphone & speaker |
Internal speaker Dedicated I2S lines for audio in and out |
|
Expandability |
Grove port to connect sensors or other accessories Easy to open - no clips, only screws to access
internals Exposed pads on PCB for modding |
|
Software |
ESPHome preloaded Fully open-source firmware for both the ESP32 and
XMOS chip |
|
Requirements |
Home Assistant already configured on another
device. For fully local speech processing, it is recommended
to have a Home Assistant system based on an Intel N100 or higher. Weaker
hardware will require a Home Assistant Cloud subscription for optimal speech
processing performance. |
|
Language support |
Check Home Assistant Assist documentation for an up-to-date
list. |
|
Environmental conditions |
Indoor use only O °C to 30 °C 32 °F to 86 °F Humidity: non-condensing Keep in dry, not excessively dusty environment as
this can cause damage to the unit |
|
Dimensions & weight |
84x84x21 mm, 96 g | with box: 94x94x30 mm, 120g |
|
Material |
Enclosure: Injection-molded Polycarbonate plastic Colors: White and Semi-transparent |
Initial Configuration
Adding the Voice Preview to Home Assistant is super easy. It does require that you have the Home Assistant companion app on your mobile device. Alternatively you can have Bluetooth enabled on your Home Assistant device and be in range of that device. I'll stick with the companion app on Android for this article.
These are the basic super simple steps to follow:
- Plug in the Voice Preview Edition device
- Open the Home Assistant companion app on your mobile device
- Go to Settings -> Devices and Services and select Add Integration
- Select the native notification that shows devices ready to set up.
- Follow the instructions and make sure to press the center button on the Voice Preview when asked as this will authorize adding your device to your Wi-Fi network.
- After adding to Wi-Fi, click on continue.
- The device will check for updates.
- After the update check, wake up the device with the "Ok Nabu" wake word and follow the prompts on the screen.
- You can then change some of the settings such as using the Home Assistant Cloud (recommended) or using a do-it-yourself setup for your voice assist pipeline.
- You can even change the wake word (if available in your language). "Ok Nabu" has been extensively trained in many languages and is the preferred wake word to use, especially if you are just getting started.
Using the PE
Using this device is as simple as speaking the wake word and asking it to do something such as turning on a light, checking the temperature, etc. In order to be able to control local devices, you need to expose them to the assist pipeline (some devices may have been added already during the above setup). This is done in Settings->Voice assistants.

Click on the "Entities Exposed" link at the bottom of the Assist window. If you have exposed entities, you will see them here. You can also add entities as well.


After clicking the button, you can choose from a list of entities to expose.

If you have more than one pipeline exposed, you can click on a device that is exposed and choose which to expose to or even remove it from exposure altogether.

That's it! You now can control your smart home devices. This is by far the most simple way to get up and running with voice control. It doesn't mean that this is the only way to go. You can add LLMs to get more out of the hardware. You can add custom intents for very specific commands/responses. I have done this with weather forecasts, for example.
The hardware LED color can also be customized by double pressing the center button and rotating the dial.
The button presses (single/double/triple) create events that can be captured and automated to perform actions.
Grab yourself one of these amazing devices, add it to Home Assistant, and have fun!
Make sure to watch my video to see the device in action.
