
Monitor Your Air Quality with the Apollo Automation AIR-1
Check the air quality in your home or environment using this amazing AIR-1 sensor.
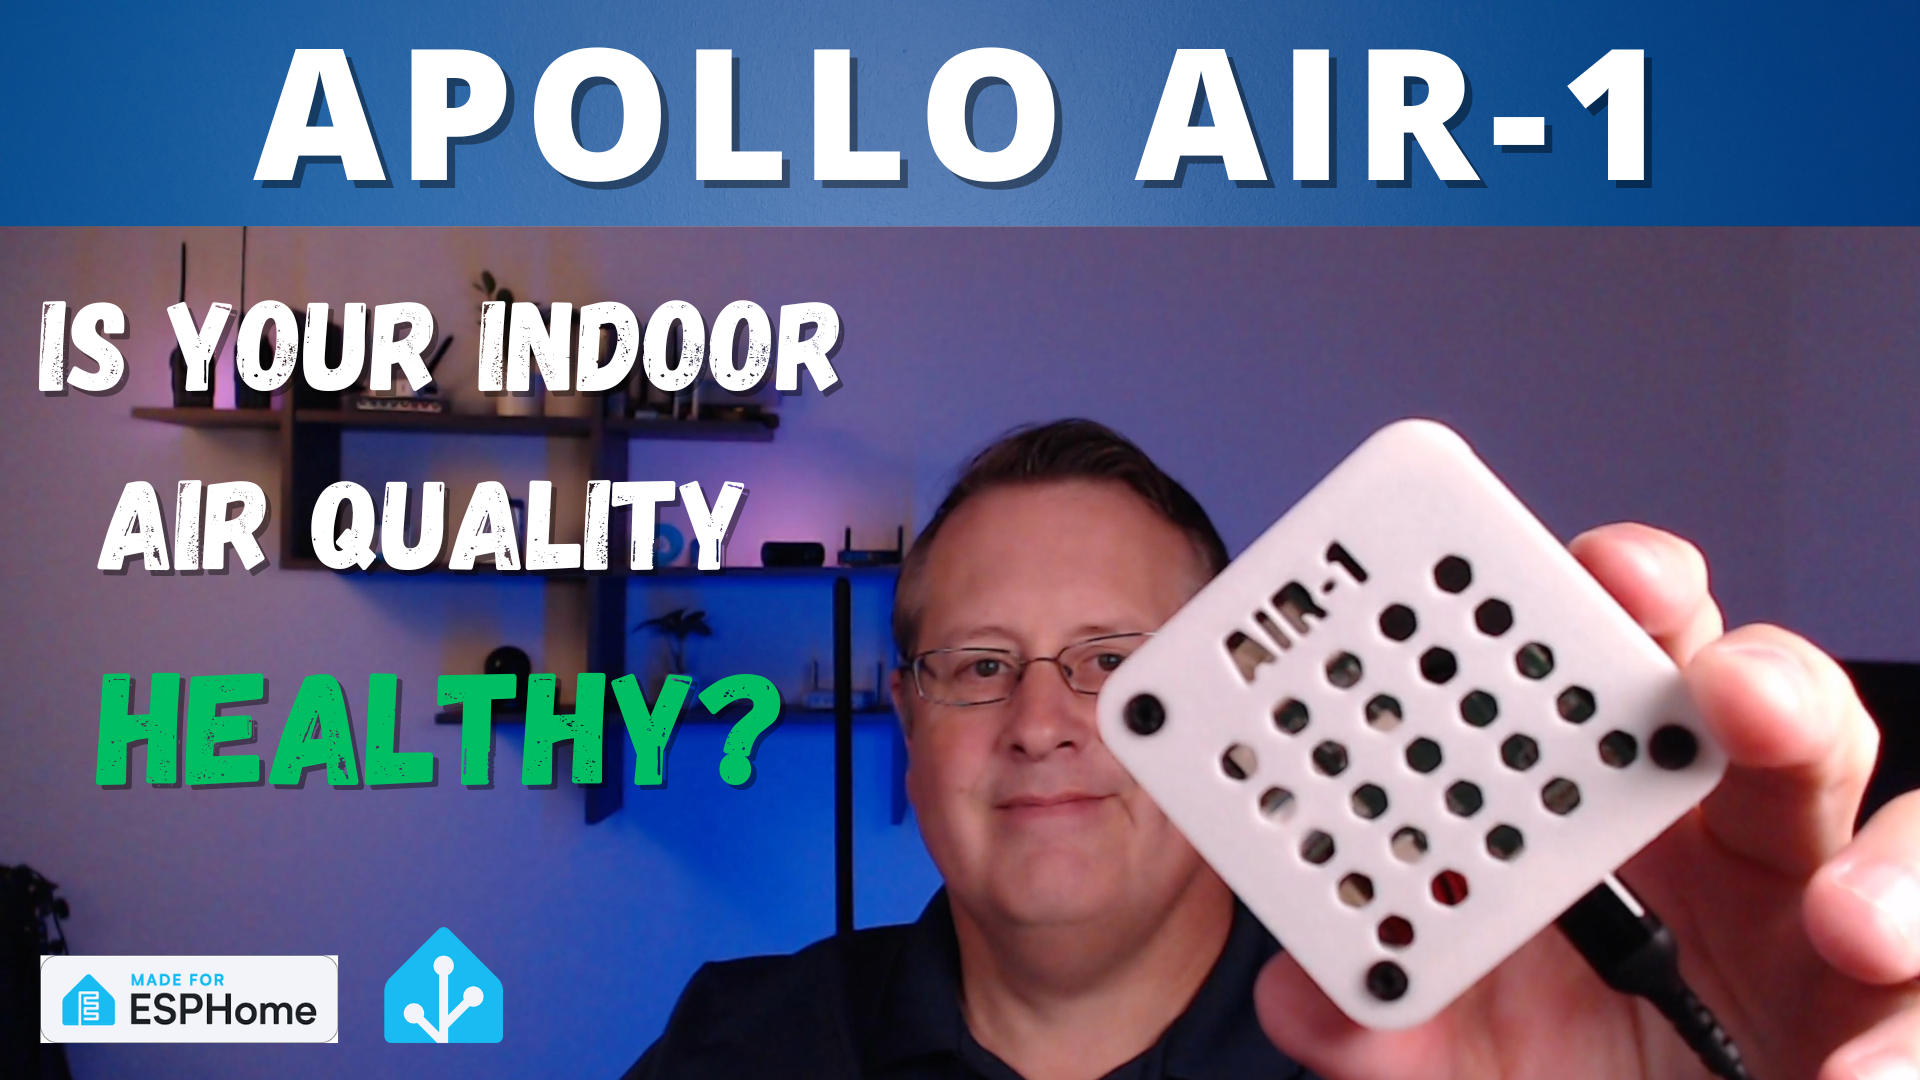
I have covered some of the Apollo Automation sensor devices here and on my YouTube channel. This blog post (and accompanying video) will cover the AIR-1 sensor. This is the third device from them that I get an opportunity to review.
For full transparency, I bought an MSR-1 and did a review of that product. Shortly after, Apollo sent me a care package of other sensors that I have been slowly adding to my smart home setup, including this AIR-1. My thoughts on it are not influenced by them in any way.
As with all of the Apollo Automation sensors to date, they are fully local using WiFi and ESPHome. There is no cloud subscription and no worry that they will suddenly stop working if the company decides to go away.
This sensor is designed for monitoring the following out of the box:
- PM1
- PM2.5
- PM4
- PM10
- VOC
- NOx
- Temperature
- Humidity
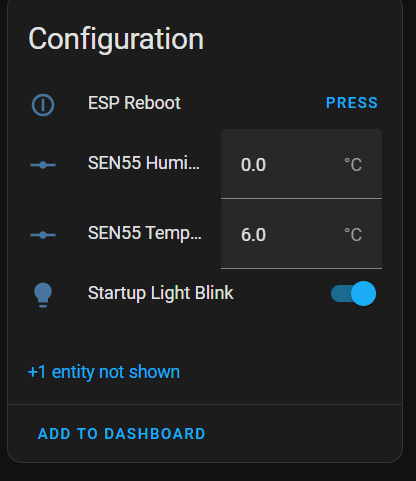
Note that the temperature sensor needs to be configured with an offset due to the heat build-up of the Bluetooth/wifi chip. I found that the default setting of 6 degrees Celsius yielded good results. You can also add an external temperature sensor via the GPIO header as a workaround if you want more accurate readings. You will need to add the GPIO header option and do a bit of YAML work.
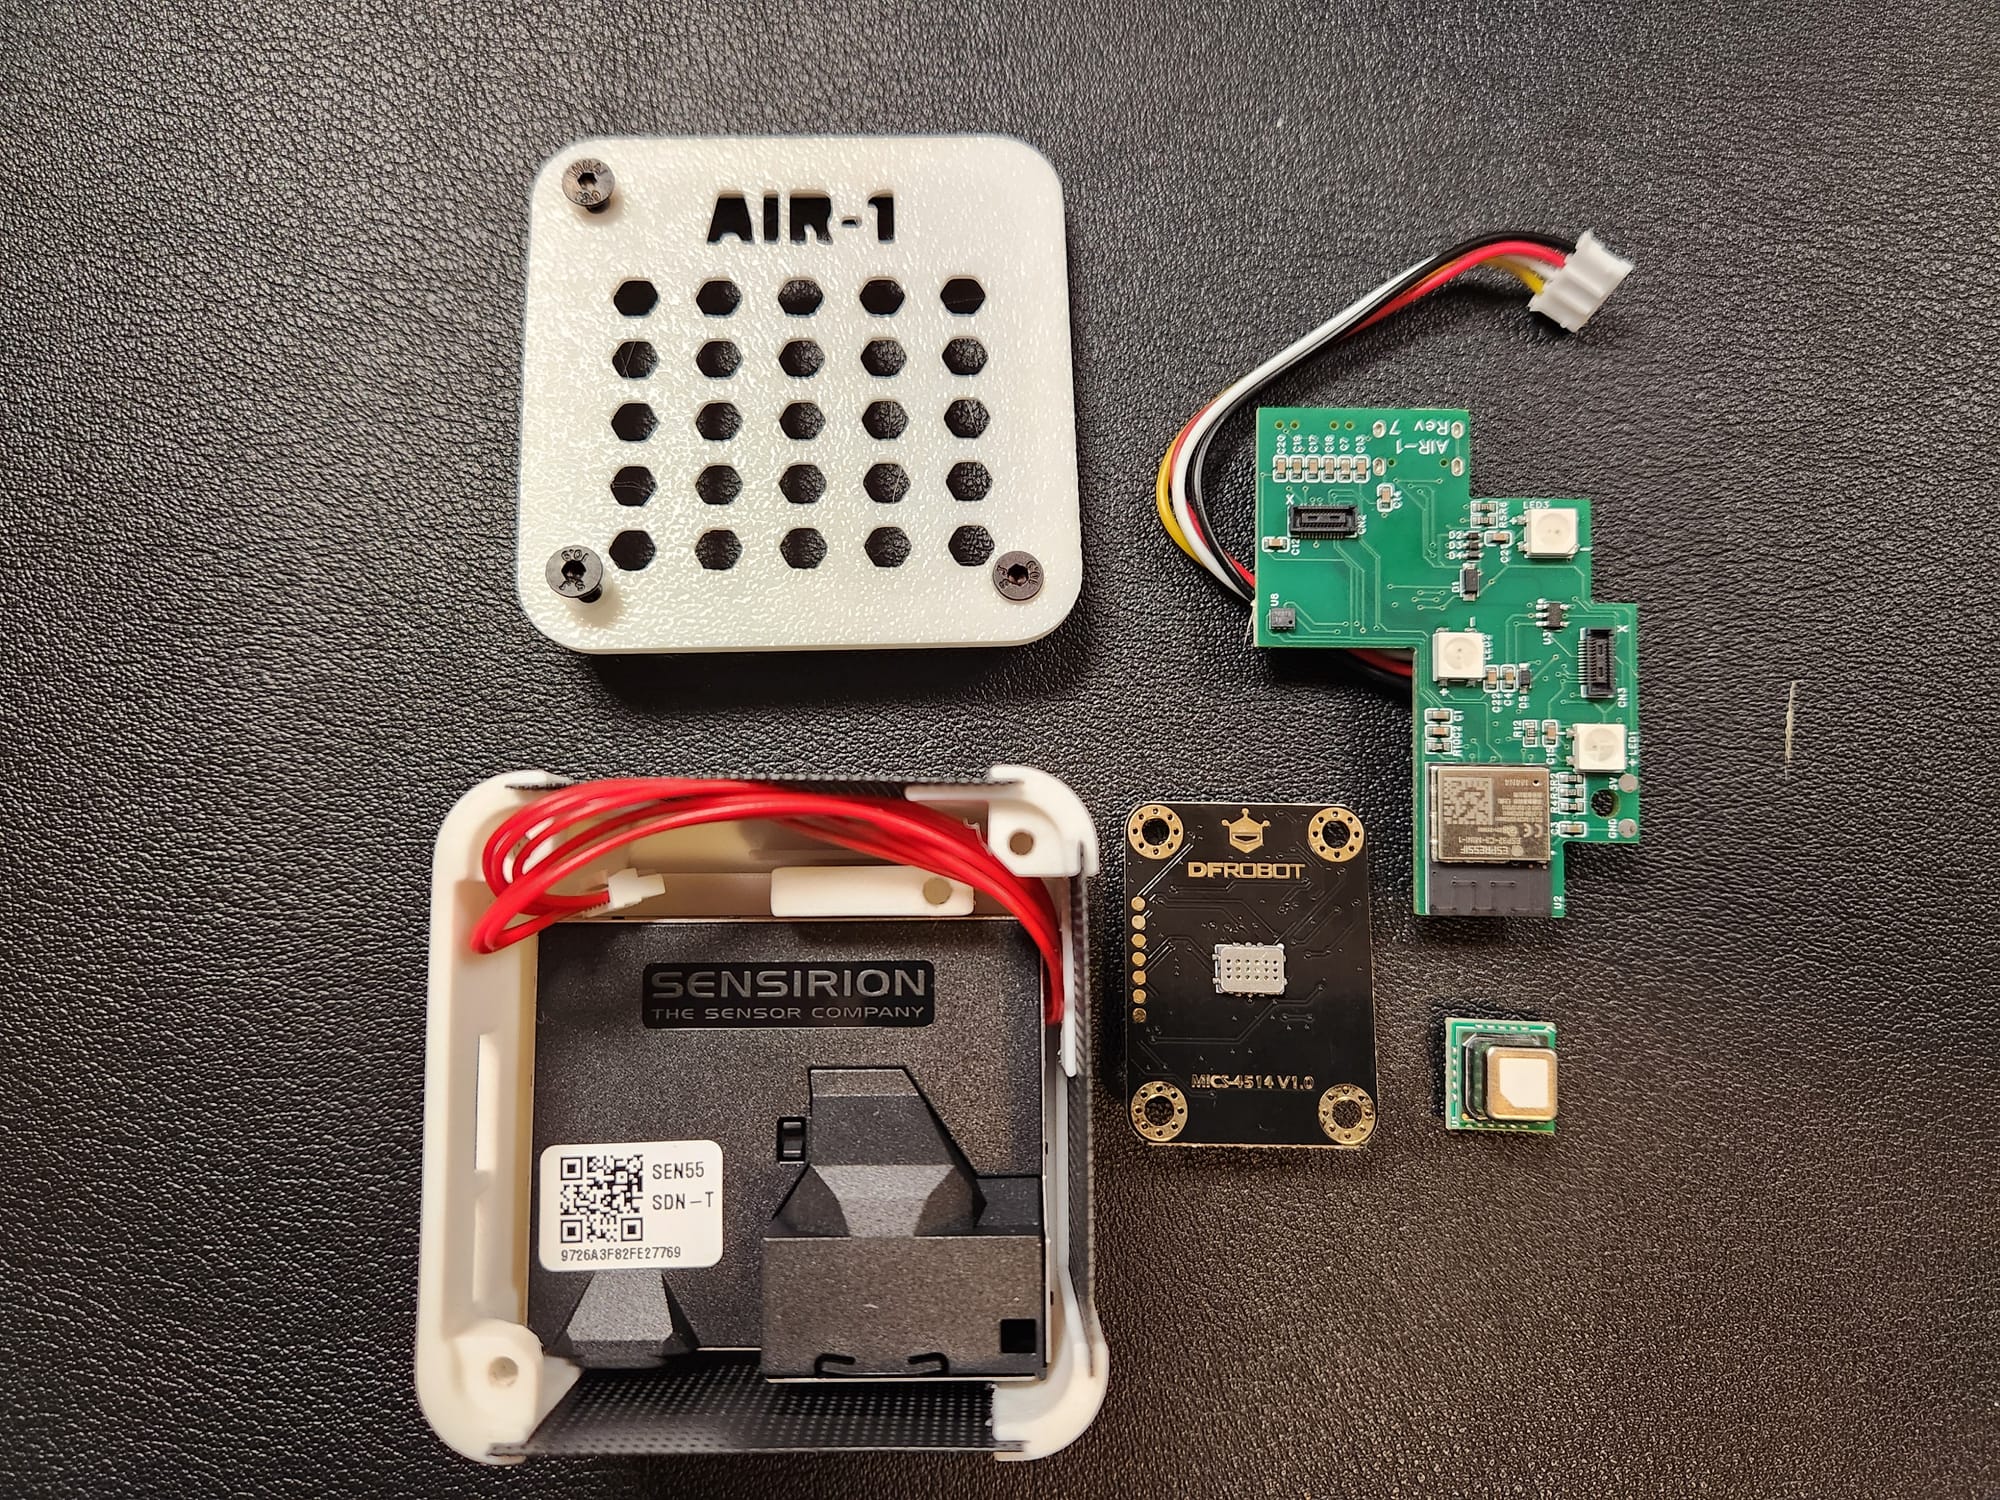
These additional measurements are available via the optional MiCS-4514 chip.
- CO
- C2H5OH (Ethanol)
- H2
- NO2
- NH3 (Ammonia)
- CH4 (Methane)
You can add the optional CO2 (SCD40) sensor to measure CO2 levels. Additionally, the DPS310 sensor is used to measure barometric pressure and feeds the CO2 sensor for better accuracy.
The AIR-1 is available in different configurations: With or without the CO2 sensor, with or without the MiCS-4514 chip, with or without GPIO headers, and you can also order the DuPont cables with the GPIO header.
As with many of Apollo's ESP-based sensors, you also get Bluetooth tracking capability via YAML configuration and RGB pixels that you can set to different colors via automation.
Apollo Automation encourages experimentation and makes their CAD drawings and code available for you to roll your own or iterate on their design.
Adding the AIR-1 to Home Assistant is similar to most all other ESPHome devices that have built-in wifi. Apollo provides these steps in their general getting startup setup guide.
- Plug the sensor into a quality power brick. They require 5v and under an amp so most phone chargers will be fine. ESP devices are sensitive to power fluctuations and users have had some issues with really cheap power bricks. If your device is restarting or unavailable please try a different power brick.
- On your phone or PC, open the wifi settings and connect to "Apollo MSR-1 Hotspot", it might take a minute for the wifi network to show up
- Once connected it should automatically open a dashboard for your sensor
- If this does not automatically open the dashboard, please open your web browser and go to http://192.168.4.1
- Select the wifi network that you would like your sensor to connect to.
- Input the wifi password. After connecting, the sensor's dashboard will automatically close. You've successfully connected your sensor, please check out the "Connecting Sensor To Home Assistant" section for the next steps.
Once you have successfully connected to your Wifi network, and this needs to be on the same network as your Home Assistant instance, you will see the device newly discovered as a notification in the Home Assistant sidebar.
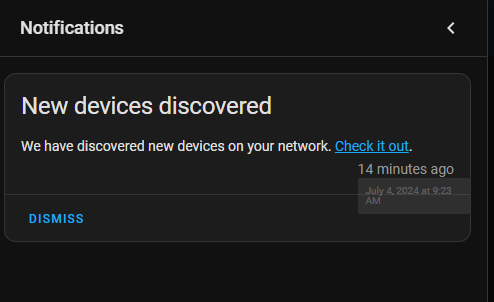
Clicking the "Check it out" link will take you to the integrations page where it will show you the devices discovered. In this case, it will be the AIR-1.
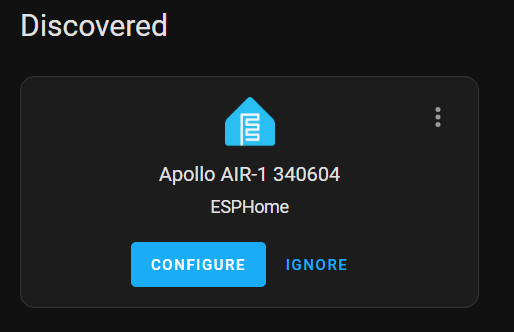
Clicking configure will bring up the confirmation dialog.
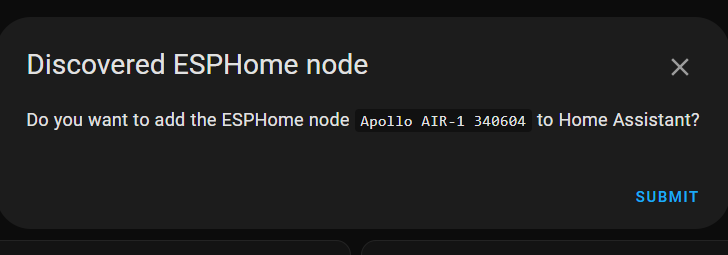
Clicking SUBMIT here will add it to Home Assistant and will allow you to assign it to an area.
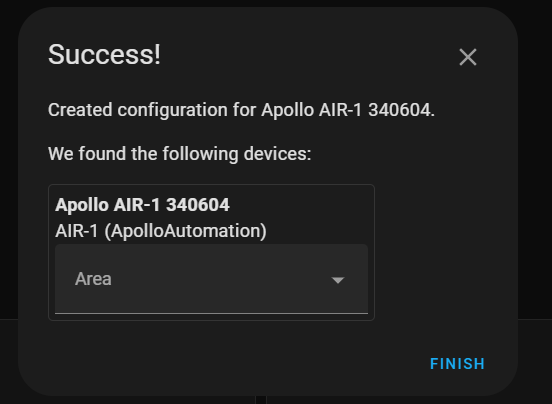
Once finished, you will see it show up in your list of ESP devices.
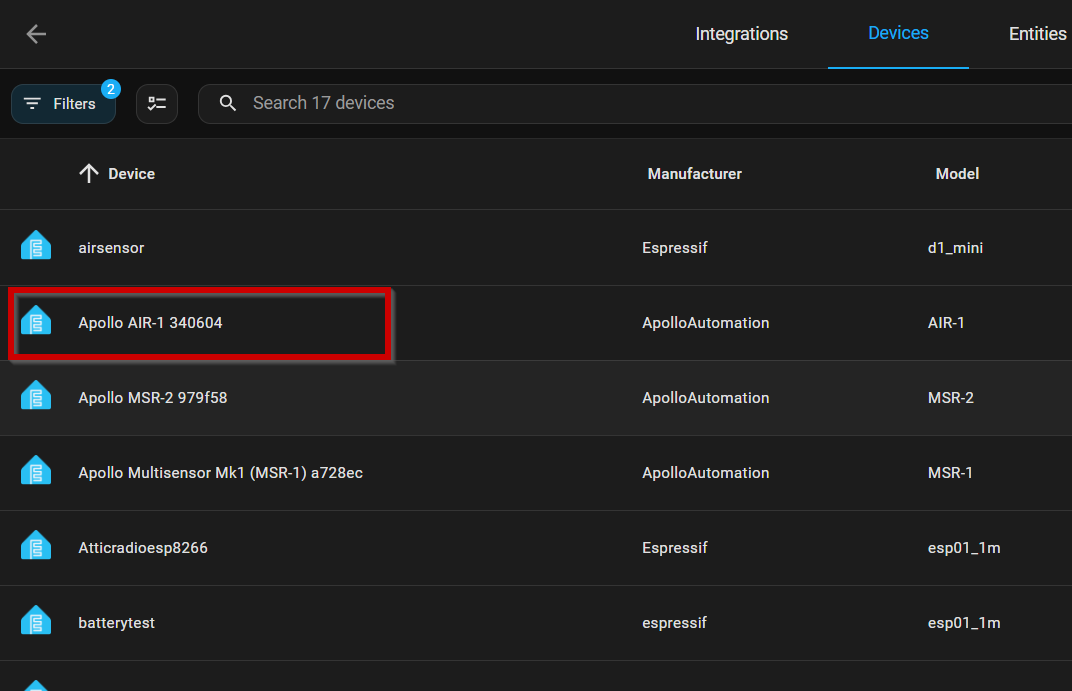
Clicking the AIR-1 line in the ESP list will take you to the device page which will show you the available sensors. What you see here will depend on the optional sensor boards you may or may not have added to the AIR-1. My board has the optional SCD40 CO2 and MiCS-4514 sensors so those values are shown.
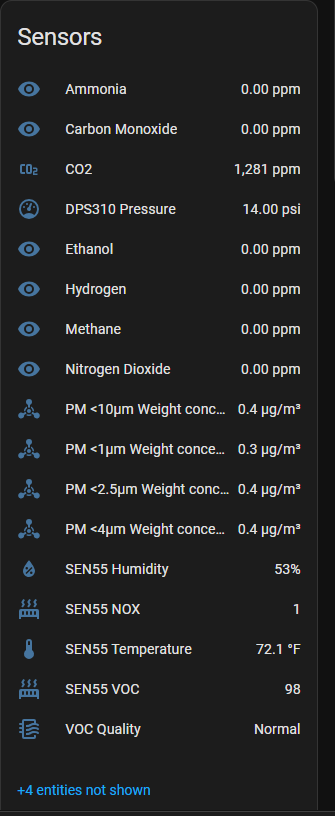
** Our beta test group has noticed the methane reading will spike when exposed to high amounts of other gasses. We all believe this is manageable for the vast amount of automations still but wanted to let you know. It is much more a exists/doesn't exist type of gas monitoring vs the actual PPM readout, it will read 0ppm in normal air.
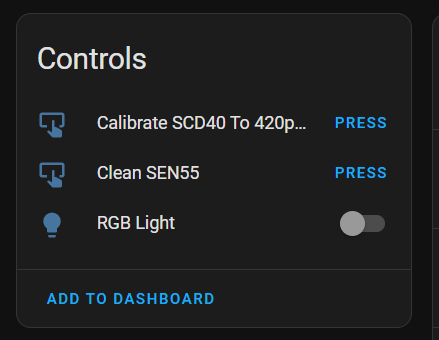
On the device page, there are also buttons to calibrate and clean the sensors. You can read about calibrating the CO2 sensor here.
As I mentioned above, you will need to calibrate your temperature to compensate for the heat generated by the Wifi chip. You can do that from the sensor page in Home Assistant.
The final step is to add your preferred sensors to your dashboards and/or create some automations to alert you or take other actions such as turning on the HVAC when levels become elevated.
Make sure to watch the associated video for more details.
Thanks for reading!